
Welcome! If you’ve found yourself with a shoe whose heel is a little worse for wear, don’t worry, we’ve got you covered.
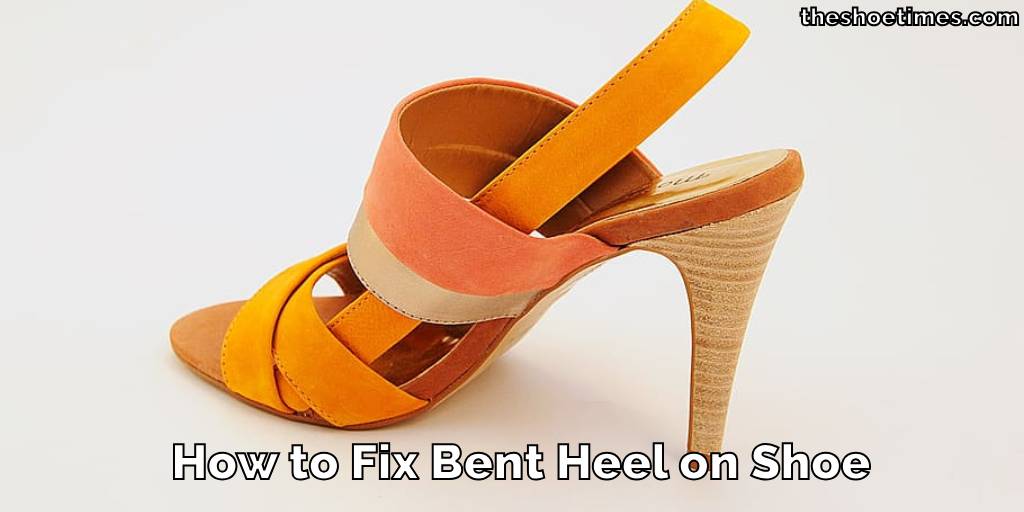
In this guide, we’ll walk you through simple steps to fix that pesky bent heel on your shoe, helping you restore both its appearance and functionality with ease. Let’s get started!
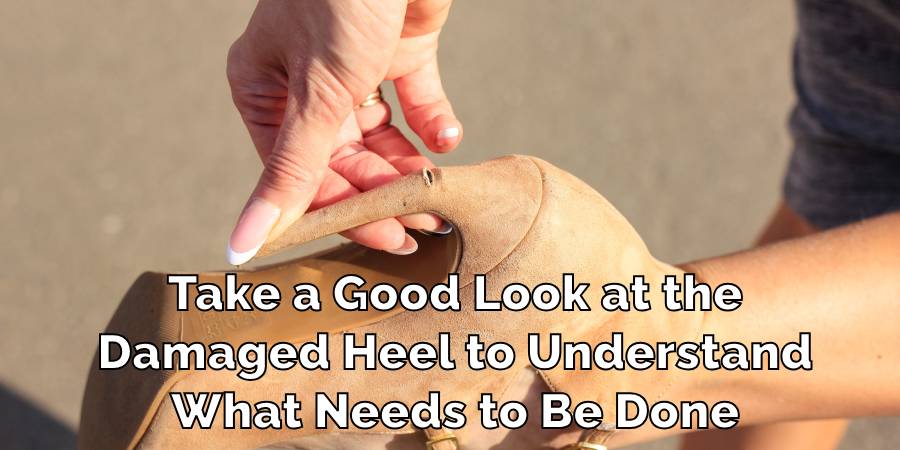
Tools We Need to Fix Bent Heel on Shoe
- Pliers or a sturdy pair of hands
- A heat source such as a hairdryer or boiling water
- A towel or cloth
- Optional: shoe glue or adhesive for extra reinforcement
How to Fix Bent Heel on Shoe
Heat the Bent Heel
Use a hairdryer or boiling water to heat up the bent part of the shoe’s heel. Be cautious not to burn yourself during this step.
Prepare Tools
Get your pliers ready or make sure your hands are sturdy enough to manipulate the heel.
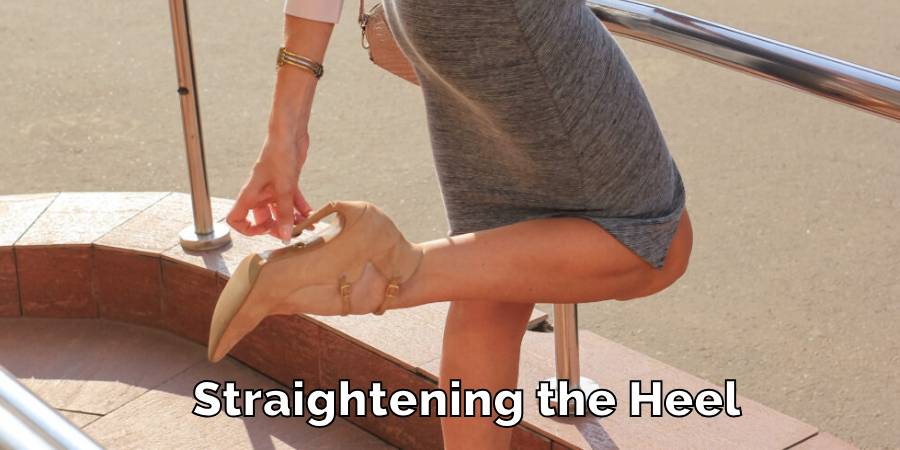
Gently Bend Back
Once the heel is warmed up, carefully use the pliers or your hands to gently bend the heel back into its original position.
Protect the Shoe
Place a towel or cloth over the heel to protect the shoe’s surface from any scratches or damage during the bending process.
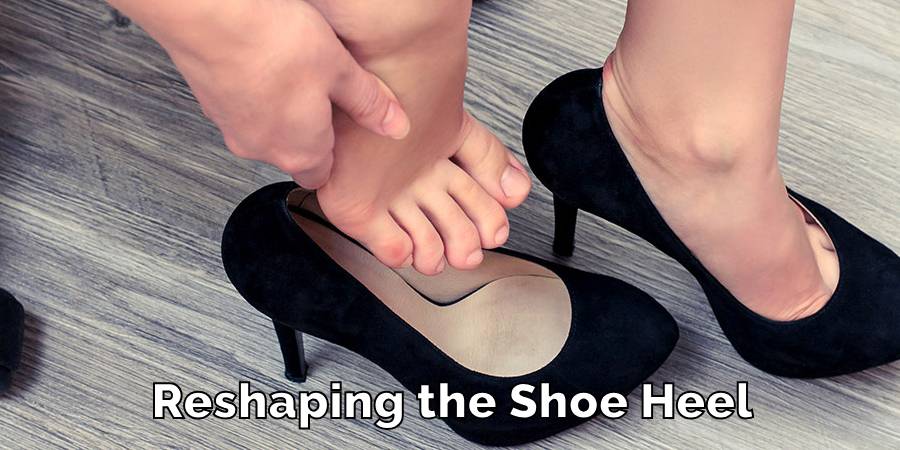
Optional: Apply Adhesive
If you want extra security, you can apply some shoe glue or adhesive to the bent area after straightening it out.
Let it Set
Allow the shoe to cool down and the adhesive to set if you used any. This will ensure the heel stays in place properly.
By following these steps, you can effectively fix the bent heel on your shoe and have it looking good as new!
Final Words
There you have it! By following these straightforward steps, you can easily fix a bent heel on your shoe without any hassle. Remember to take your time and be gentle with the process to ensure the best results. With just a little effort, you’ll have your shoe back in top shape in no time. Happy fixing!
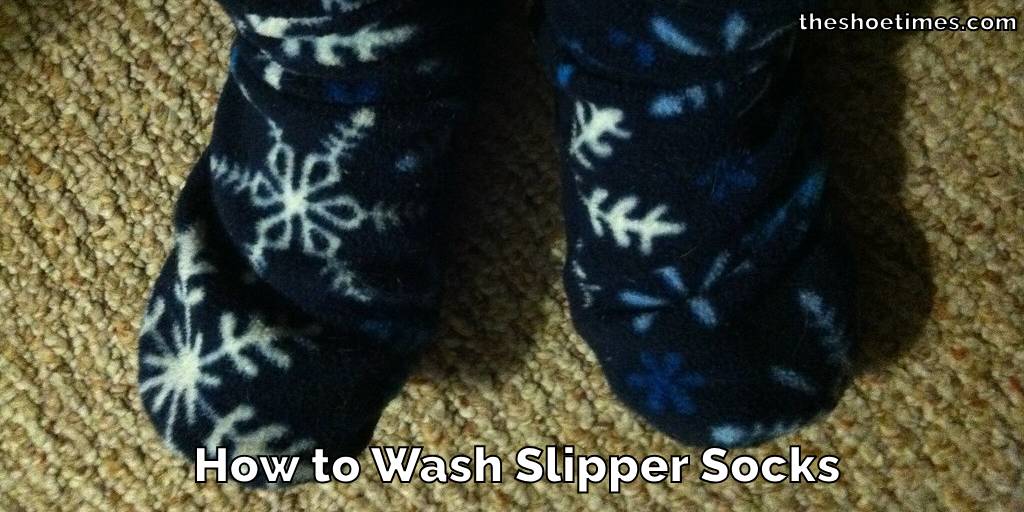
How to Wash Slipper Socks
Slipper socks are a cozy blend of comfort and warmth, perfect for lounging at home….
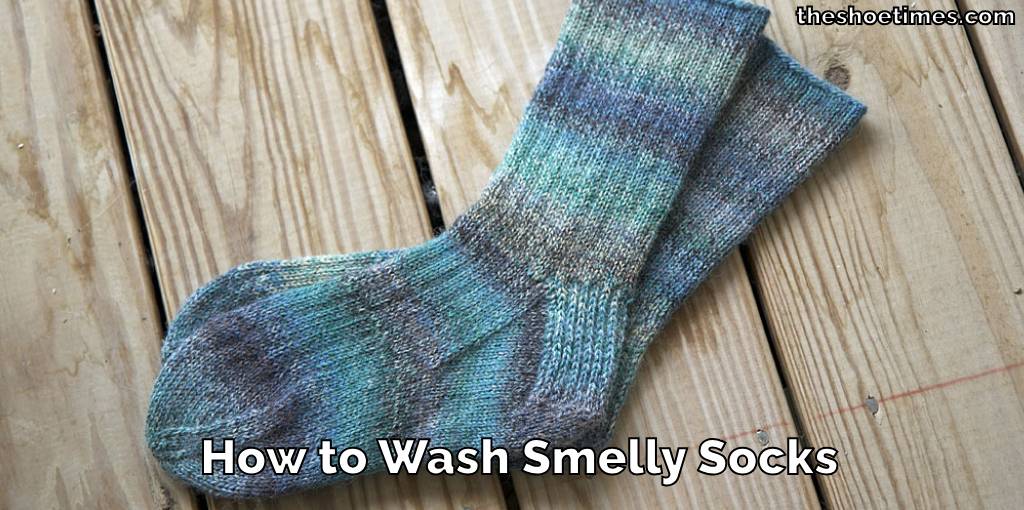
How to Wash Smelly Socks
Dealing with smelly socks is a common household challenge, but it doesn’t have to be…
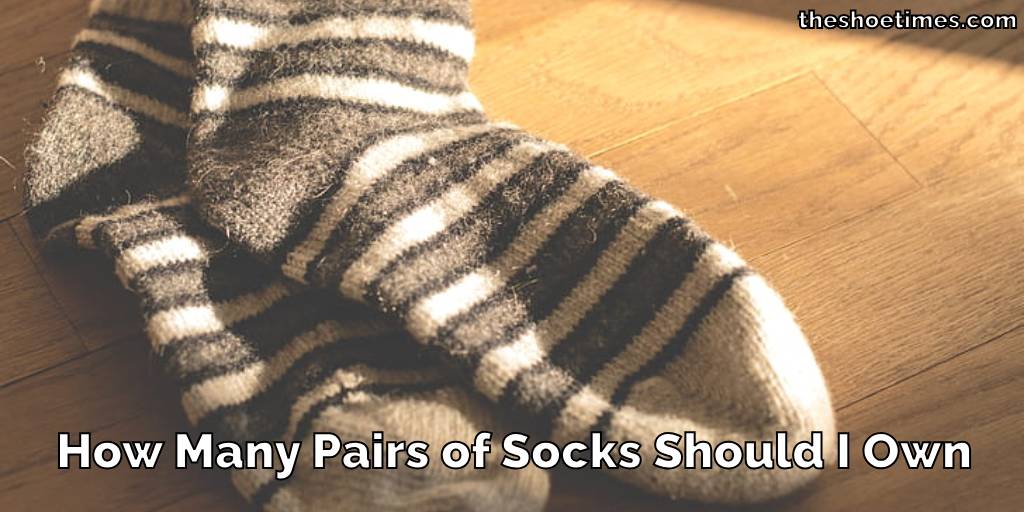
How Many Pairs of Socks Should I Own
Deciding on the number of socks to own can surprisingly stir up quite the debate….
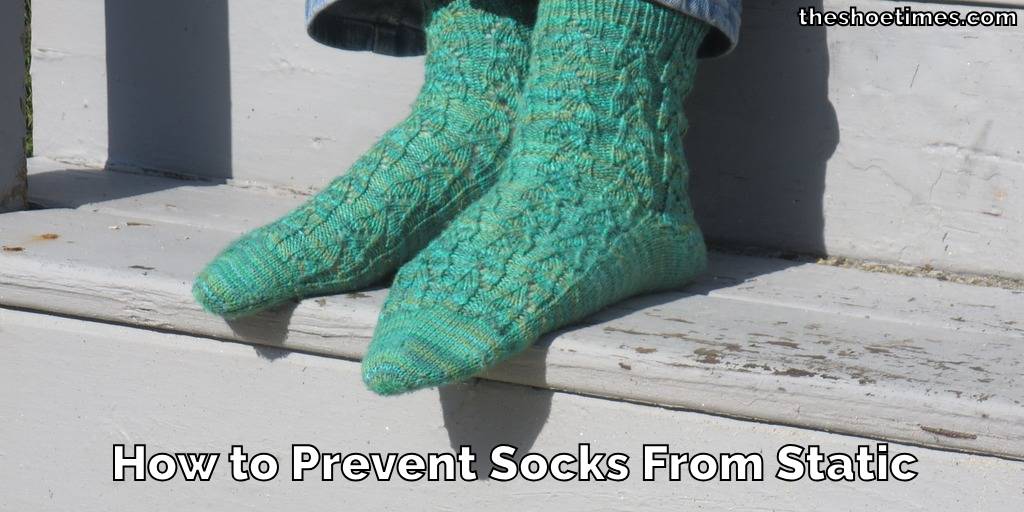
How to Prevent Socks From Static
Static cling can be a minor annoyance or a constant frustration, especially when it comes…
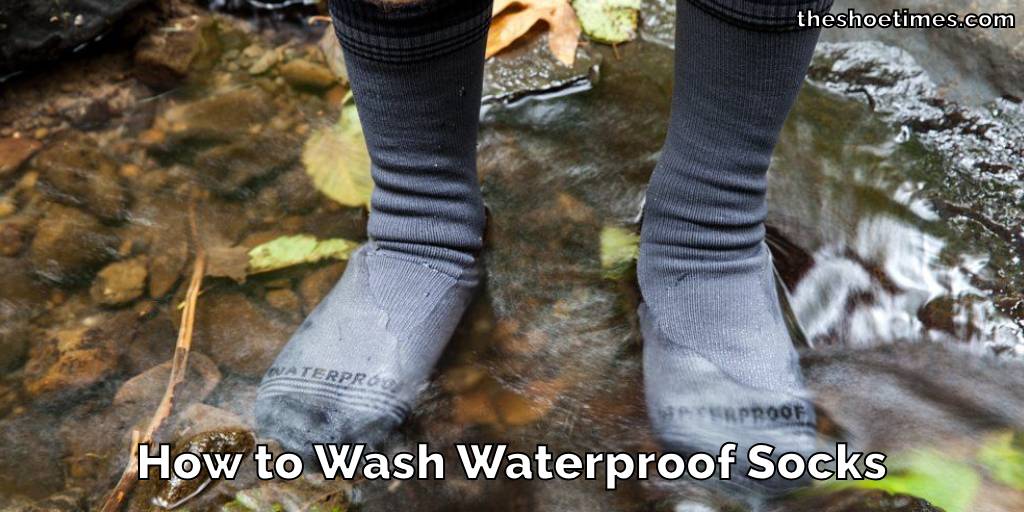
How to Wash Waterproof Socks
Washing waterproof socks properly is essential to maintain their effectiveness and durability. Whether you’re an…
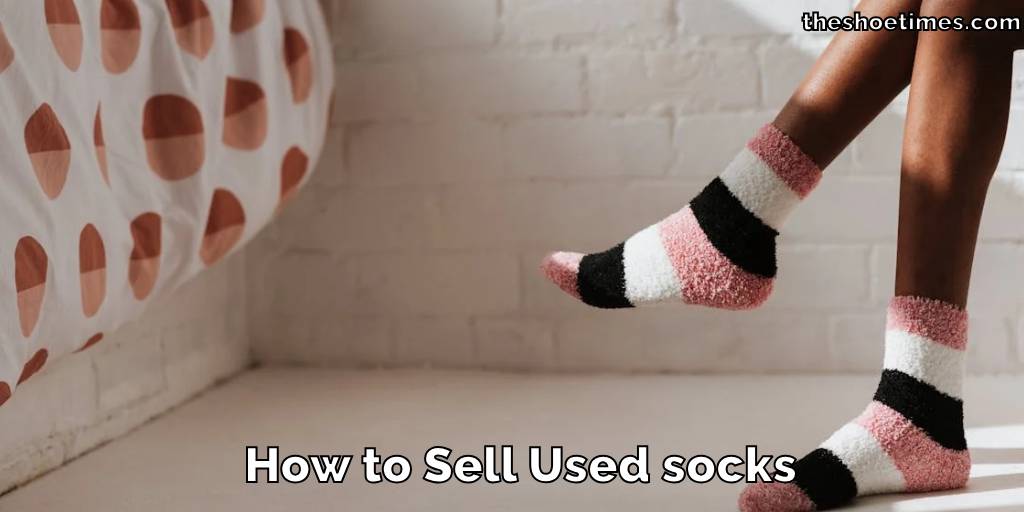
How to Sell Used socks
Looking to declutter and make some extra cash? Selling used socks is a unique way…