
Making your own shoe lifts at home is a clever and cost-effective way to add a bit of height without splurging on new footwear or specialty products. Whether you need that extra boost for a special event or are looking to improve your daily comfort and posture, crafting shoe lifts by yourself can be a straightforward and rewarding DIY project.
In this guide, I’ll show you how to make shoe lifts at home and the simple steps to create custom shoe lifts that fit perfectly into your favorite shoes, using materials you likely already have at home. Let’s get started and add that extra inch in no time!
Tools We Need to Fix Shoe Lifts at Home
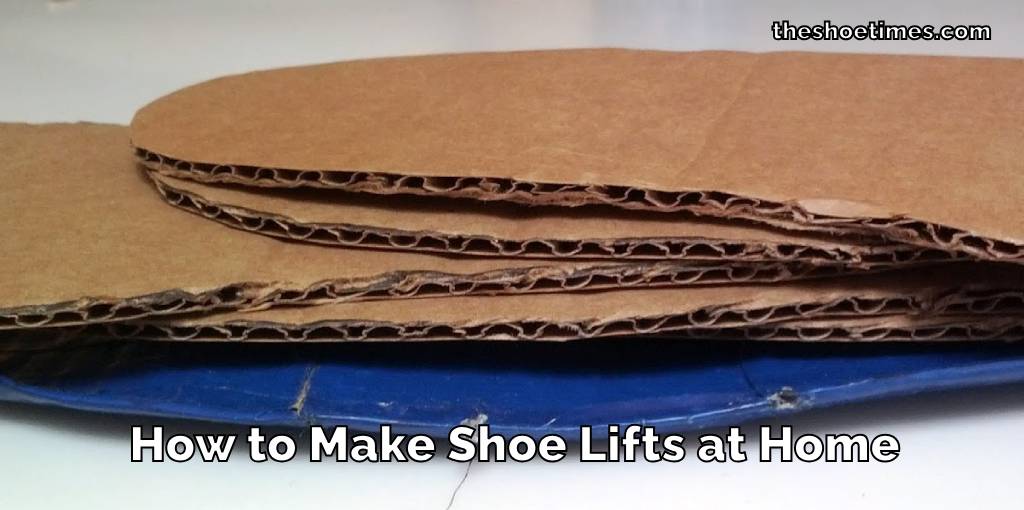
- Foam or Cork Sheets – These will be the main material for your shoe lifts. Foam is softer and offers more cushioning, while cork provides firmer support.
- Scissors or a Craft Knife – Cut the foam or cork to the exact shape of your shoe’s insole.
- Marker – To outline the shape of your insoles on the foam or cork.
- Adhesive – A strong glue or double-sided tape to keep the lifts securely in place within your shoes.
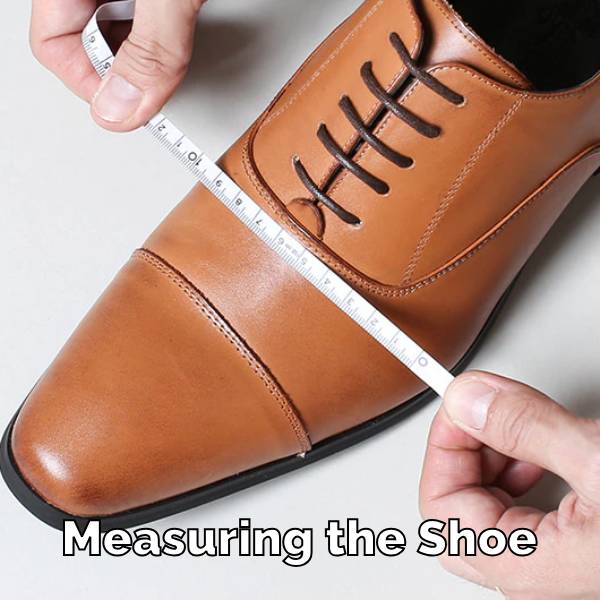
- Measuring Tape or Ruler – To measure the thickness you need, ensure your lifts are the perfect height for comfort and effectiveness.
- Sandpaper (optional) – If using cork, sandpaper can help smooth out any rough edges after cutting.
How to Make Shoe Lifts at Home
These lifts can be particularly helpful for balancing leg length discrepancies or for personal preferences in height enhancement. Here’s how you can make your own using materials that are commonly found at home:
Choose the Material
You can use dense foam, cork, or even layers of old, firm fabric. Foam is often preferred for its balance between durability and comfort.
Trace Your Foot
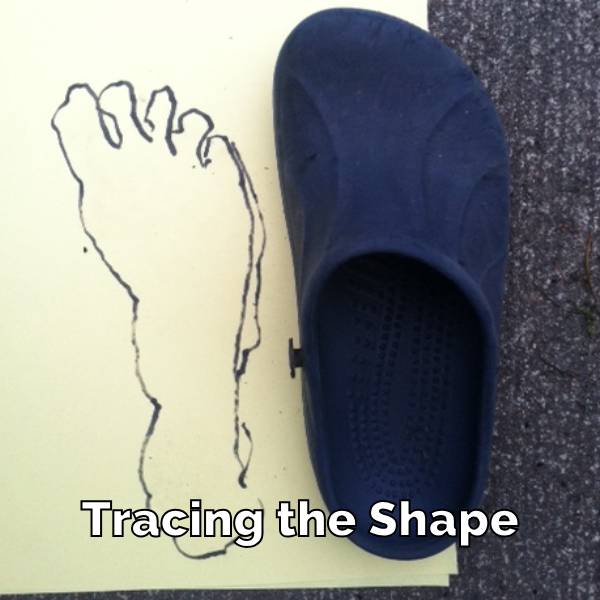
Stand on a piece of cardboard or the material you have chosen and trace the outline of your foot or the sole of your shoe, depending on where you plan to place the lift.
Cut the Material
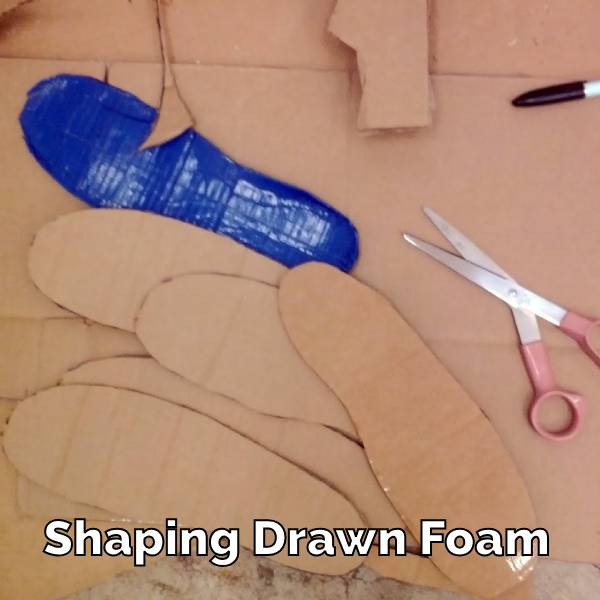
Using sharp scissors or a utility knife, cut out the traced shape. Be sure to follow the lines closely for a snug fit in your shoe.
Determine the Height
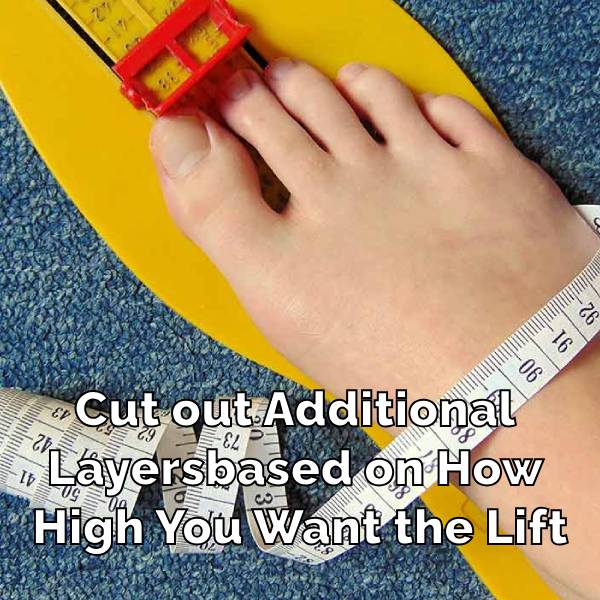
Stack multiple layers of your chosen material until you reach the desired height. This is usually between one to two inches, but it can vary based on personal needs.
Secure the Layers
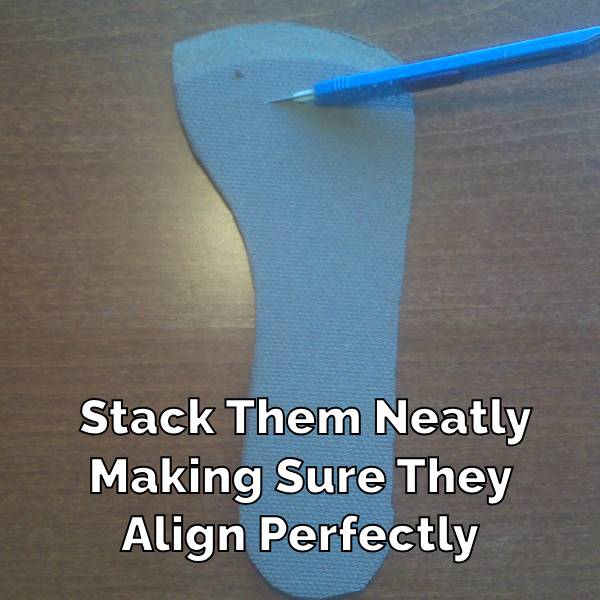
Glue each layer together with a strong adhesive to ensure they don’t shift or slide inside your shoe. Allow adequate time for the glue to dry completely.
Shape for Comfort

If necessary, trim the edges of your shoe lifts to fine-tune their fit and enhance comfort. Make sure they match the contour of your shoes perfectly.
Insert and Test
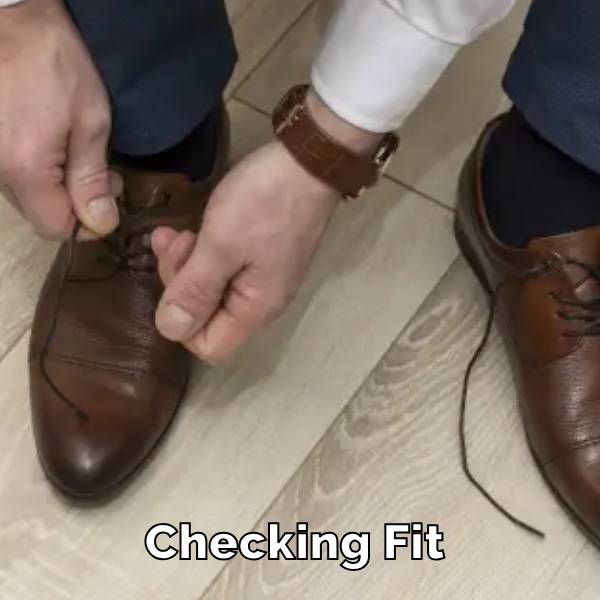
Place the lift inside your shoe and try walking around to ensure it feels stable and comfortable. Adjust as needed.
By making your own shoe lifts, you not only save money but also get a customized fit that supports your comfort and confidence throughout the day.
Final Words
Feel free to customize your homemade shoe lifts to best suit your needs and preferences. With a bit of practice and adjustment, you can create a solution that not only enhances your stature but also provides comfort and confidence in your daily activities. Enjoy the benefits of your new shoe lifts, crafted perfectly by your own hands!
Read also – How to Strip Shoe Polish with Shaving Cream
How to Wash Slipper Socks
Slipper socks are a cozy blend of comfort and warmth, perfect for lounging at home….
How to Wash Smelly Socks
Dealing with smelly socks is a common household challenge, but it doesn’t have to be…

How Many Pairs of Socks Should I Own
Deciding on the number of socks to own can surprisingly stir up quite the debate….
How to Prevent Socks From Static
Static cling can be a minor annoyance or a constant frustration, especially when it comes…
How to Wash Waterproof Socks
Washing waterproof socks properly is essential to maintain their effectiveness and durability. Whether you’re an…

How to Sell Used socks
Looking to declutter and make some extra cash? Selling used socks is a unique way…