
Stitching your own shoe tongue can transform an ordinary pair of sneakers into a personalized fashion statement. Whether you’re looking to repair a worn-out tongue or simply want to add a unique touch to your footwear, mastering this skill can be both satisfying and stylish.
In this guide, we’ll walk through the essentials of sewing a shoe tongue, from selecting the right materials to the final stitches. Grab your needle and thread, and let’s breathe new life into your favorite shoes!
Tools We Need to Sew Shoe Tongue
- Fabric: Choose a durable material that matches or contrasts well with your shoes. Leather, canvas, and synthetic materials are popular choices.
- Scissors: Sharp scissors are crucial for cutting fabric and thread cleanly.
- Needle and Thread: Use a heavy-duty needle and strong thread that can handle the thickness of your chosen fabric.
- Sewing Machine (optional): For those who are comfortable using one, a sewing machine can speed up the process.
- Pattern or Template: Either create your own or find a pattern online to ensure the tongue fits perfectly.
- Pins or Clips: These will help hold your fabric in place as you sew.
- Thimble: Protect your fingers when pushing through tough materials like leather.
- Seam Ripper: Handy for correcting any mistakes without damaging the fabric.
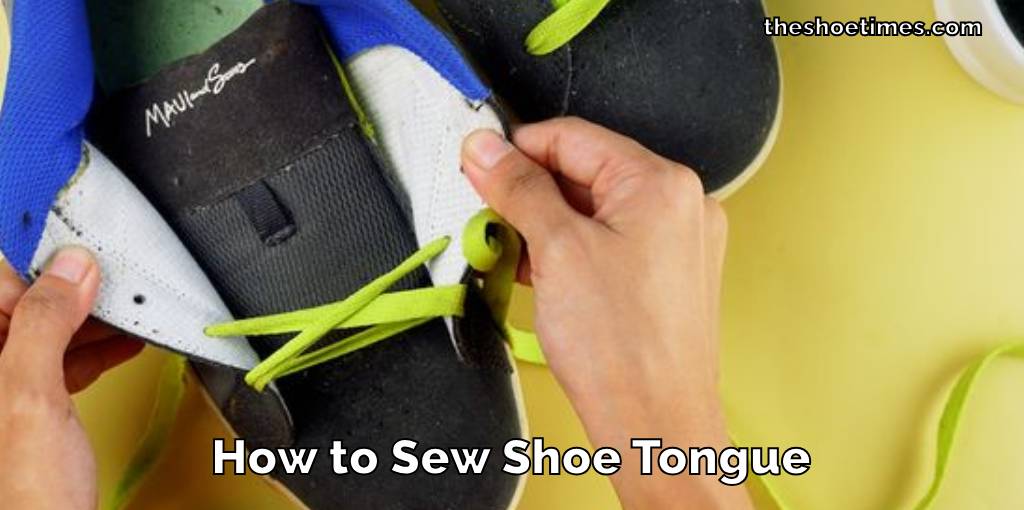
How to Sew Shoe Tongue in 14 Steps
Repairing a loose or detached shoe tongue might sound tricky, but it’s definitely a task you can handle on your own. Let’s break it down into simple steps to help you get your favorite shoes looking and feeling great again:
Clean the Shoe
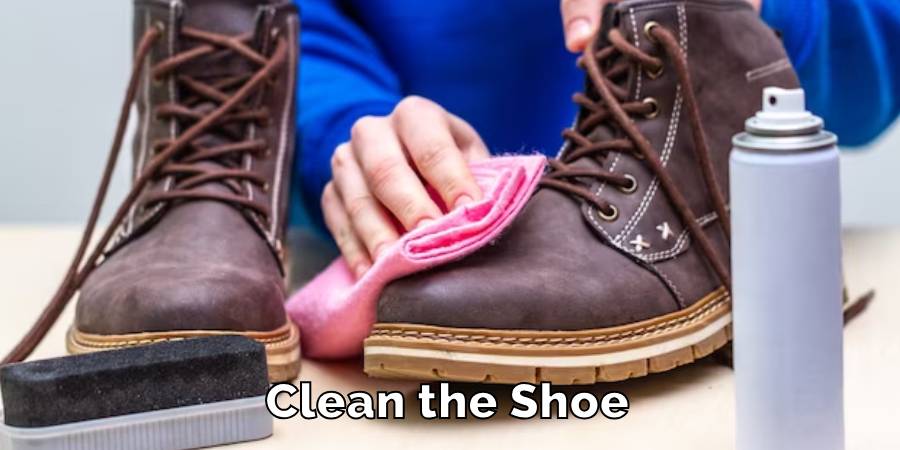
Start by cleaning your shoe thoroughly. Make sure to remove any dirt around the area where you’ll be sewing to ensure a clean repair.
Remove Laces
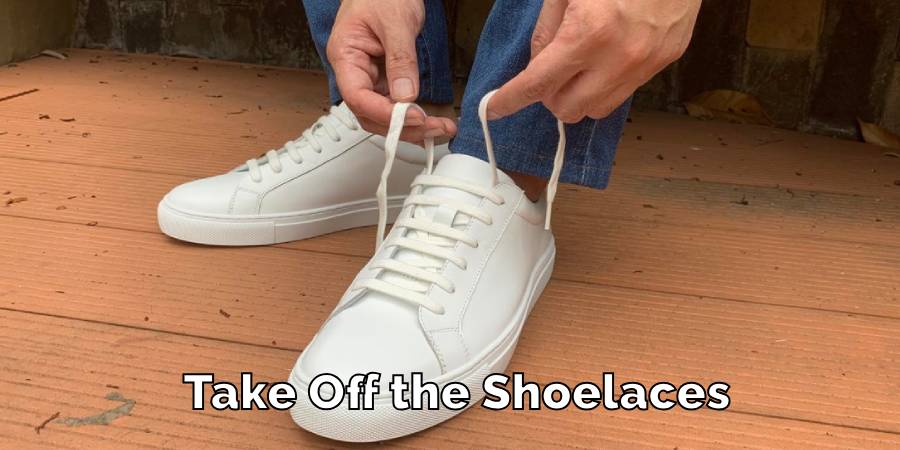
Take out the shoelaces to give yourself easy access to the tongue.
Check the Damage

Carefully examine the tongue. Decide whether the original can be fixed or if you need to cut a new piece of material.
Remove Old Stitches
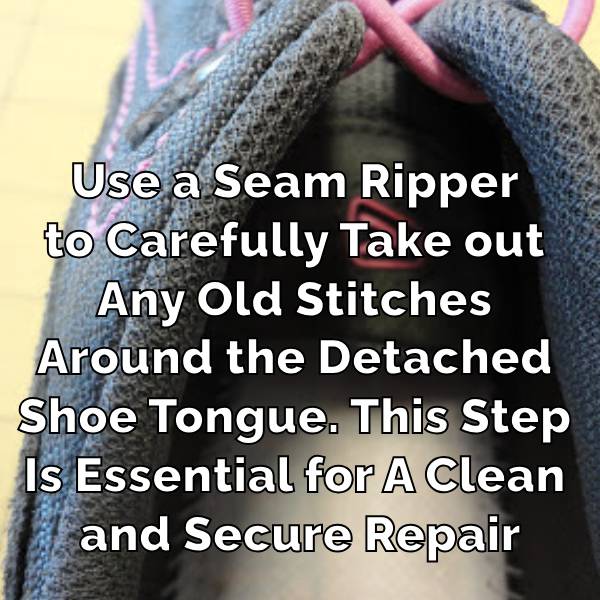
With a seam ripper, carefully take out any old stitches from around the tongue area.
Position the Tongue

Put the tongue back in its place. If you’re using a new piece, position it to check the fit.
Secure with Pins
Use pins or clips to keep the tongue in position as you sew.
Prepare Needle and Thread
Double your thread for extra strength and tie a knot at the end.
Start Sewing
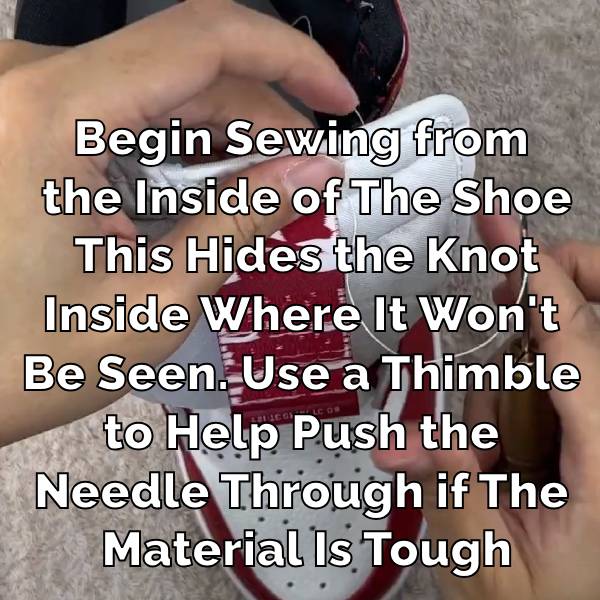
Begin stitching from the inside of the shoe to conceal the knot. Use a thimble to help push the needle through tough materials.
Use a Backstitch
Employ a backstitch for your sewing. This strong stitch overlaps the stitches to provide extra durability.
Keep Tension Right
Ensure the thread is tight enough to hold everything securely in place, but not so tight that it gathers the material.
Finish the Sewing
Stitch all around the tongue. When you’re done, secure the thread on the inside and trim any excess.
Add Some Glue
For an additional layer of hold, you might apply a small amount of fabric or leather glue over your stitches.
Lace Up
Re-thread your shoelaces.
Test It Out
Put the shoe on to make sure the tongue is comfortably and securely in place.
By following these steps, you’ll not only save your shoes but also get a sense of accomplishment from repairing them yourself. It’s a useful skill that saves you money and keeps your shoes going strong.
Final Words
With these straightforward steps, you’ve now learned how to effectively sew a shoe tongue, restoring both comfort and style to your footwear. This DIY repair not only saves you a trip to the shoe shop but also gives you a valuable skill for future footwear fixes.
So next time a shoe issue pops up, you’ll be ready to tackle it head-on, ensuring your favorite pairs stay wearable for years to come. Happy sewing!
You may also read – How to Make Shoe Lifts at Home
How to Wash Slipper Socks
Slipper socks are a cozy blend of comfort and warmth, perfect for lounging at home….
How to Wash Smelly Socks
Dealing with smelly socks is a common household challenge, but it doesn’t have to be…
How Many Pairs of Socks Should I Own
Deciding on the number of socks to own can surprisingly stir up quite the debate….
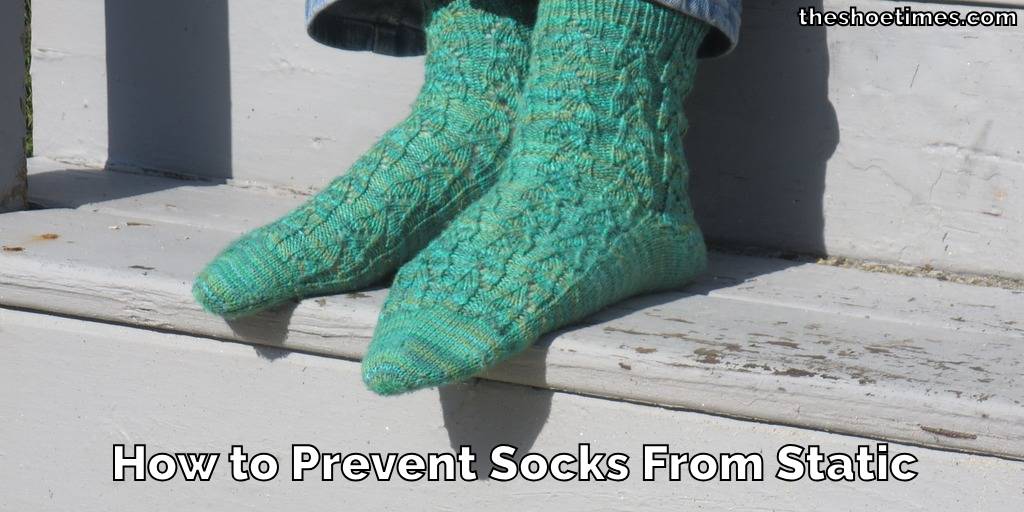
How to Prevent Socks From Static
Static cling can be a minor annoyance or a constant frustration, especially when it comes…
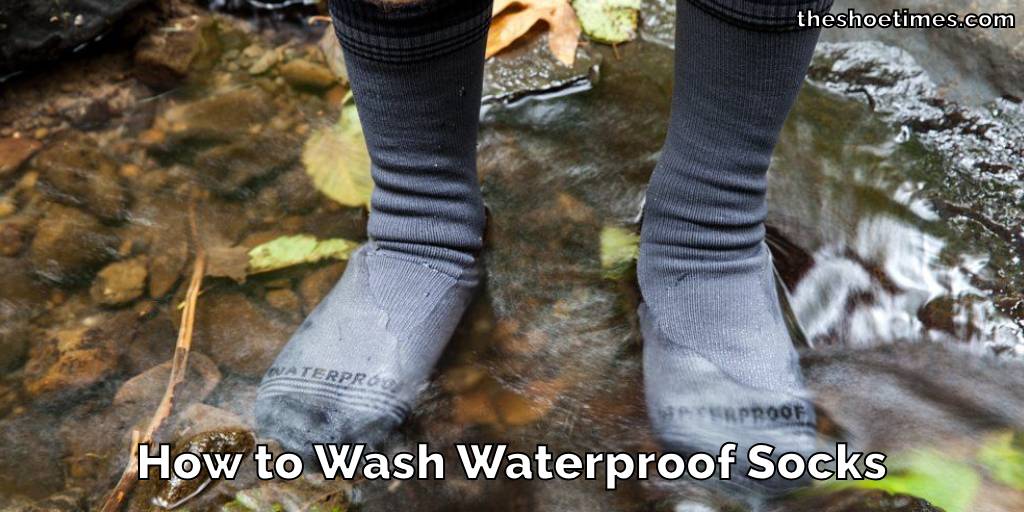
How to Wash Waterproof Socks
Washing waterproof socks properly is essential to maintain their effectiveness and durability. Whether you’re an…

How to Sell Used socks
Looking to declutter and make some extra cash? Selling used socks is a unique way…