
Have you ever found the perfect pair of shoes but the straps just don’t fit right? Maybe they’re a bit too loose or uncomfortably tight. Don’t worry, you’re not alone, and there’s a simple solution that doesn’t involve returning your new favorite shoes. Adding an extra hole to the shoe strap can give you that custom fit for maximum comfort and style.
Today, I’m going to walk you through how to add another hole to the shoe strap and the steps to easily adjust your shoe straps at home, ensuring you can strut in comfort without the hassle of a poor fit. Let’s get your shoes to fit just the way you like!
Tools We Need to Add Another Hole to the Shoe Strap
- Leather Punch Tool: This is essential for creating clean and precise holes. Choose one with various punch sizes to ensure you get the right fit for your strap.
- Hammer: Needed to drive the punch tool through the strap. A small, lightweight hammer is sufficient.
- Cutting Board or Scrap Wood: Use this as a base to protect your work surface and ensure a clean punch through the leather.
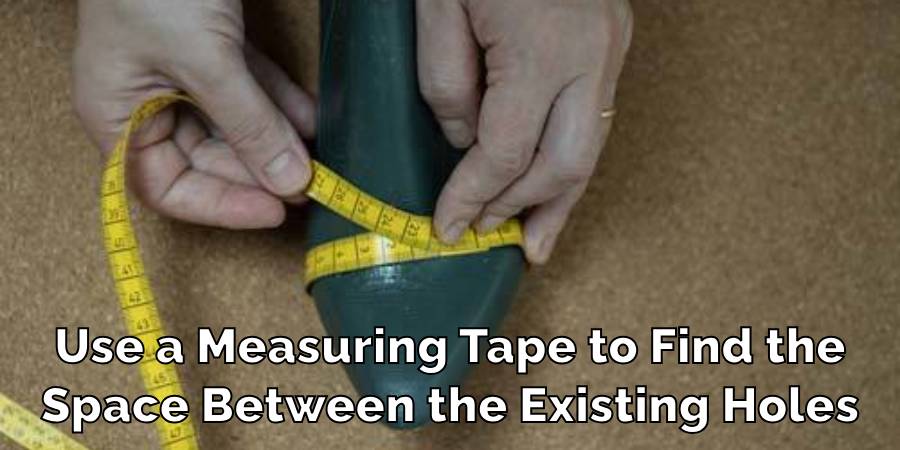
- Ruler or Measuring Tape: To accurately measure and mark where you want the new hole, ensuring even spacing and alignment.
- Marker or Pencil: To mark the exact spot where you will punch the new hole, make sure it’s visible and precise.
- Rubbing Alcohol and Cotton Swabs (optional): For cleaning the area around the new hole, which can help in tightening the leather fibers around the puncture, reducing fraying.
How to Add Another Hole to the Shoe Strap
Step 1: Prepare Your Tools
Gather the necessary tools including a leather punch, hammer, cutting board or piece of scrap wood, ruler, and marker.

Step 2: Determine the Placement of the New Hole
Wear the shoe to see where the strap feels too tight or loose. Mark the spot on the strap where you feel the new hole should be, using the marker. Ensure it aligns with the existing holes for a neat look.
Step 3: Position the Strap
Place the shoe strap flat on the cutting board or scrap wood. This protects your working surface from damage when you punch the new hole.
Step 4: Punch the Hole
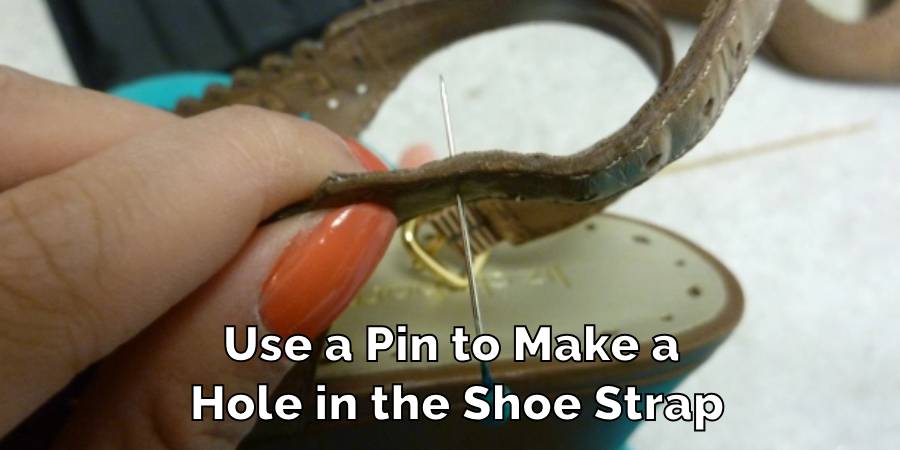
Choose a punch size from your leather punch tool that matches the existing holes. Position the punch on your mark. Hold it steady and hit the back of the punch tool with your hammer until it goes through the leather, creating a new hole.

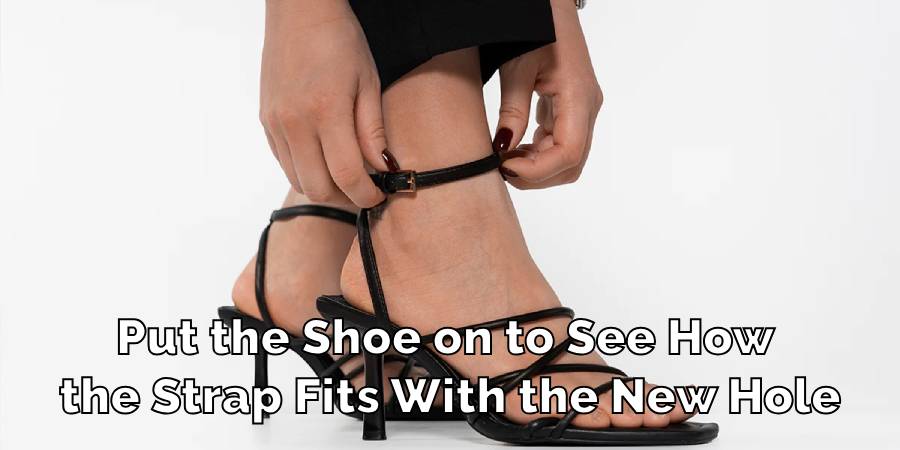
Step 5: Test the Fit
Fasten the strap using the new hole. Put on the shoe to ensure that the fit is comfortable. Adjust if necessary by adding more holes using the same method.
These steps will help you adjust your shoe strap for a better and more comfortable fit.
Final Words
And there you have it! With just a few simple tools and steps, you’ve adjusted your shoe strap to fit perfectly. No more slipping or pinching—just the comfort you deserve in your favorite pair of shoes.
Remember, a little DIY can go a long way in making sure your footwear not only looks great but feels great too. Don’t hesitate to put this new skill to use whenever you need a custom fit. Happy adjusting!
How to Wash Slipper Socks
Slipper socks are a cozy blend of comfort and warmth, perfect for lounging at home….
How to Wash Smelly Socks
Dealing with smelly socks is a common household challenge, but it doesn’t have to be…
How Many Pairs of Socks Should I Own
Deciding on the number of socks to own can surprisingly stir up quite the debate….
How to Prevent Socks From Static
Static cling can be a minor annoyance or a constant frustration, especially when it comes…
How to Wash Waterproof Socks
Washing waterproof socks properly is essential to maintain their effectiveness and durability. Whether you’re an…

How to Sell Used socks
Looking to declutter and make some extra cash? Selling used socks is a unique way…