
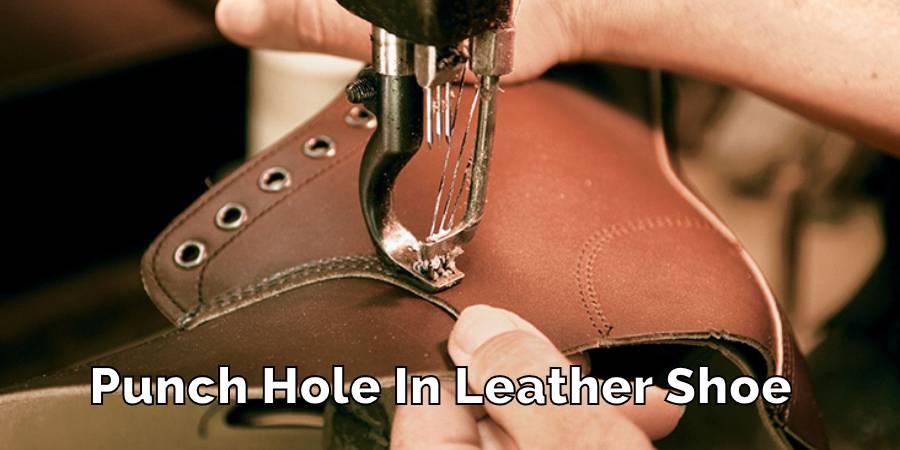
Adding holes to leather shoes is a neat trick for customizing your kicks, whether it’s to add a bit of flair, make them more breathable, or get a better fit for your feet. But, diving into this without the right know-how can be risky—you don’t want to end up with a damaged pair.
This guide is all about teaching you the proper way to punch holes in leather shoes, ensuring you get that professional look without harming the leather.
I’ll show you how to punch holes in leather shoes safely and effectively punch holes in leather shoes, so you can tailor them exactly to your needs. Let’s get started and give those shoes a perfect, personalized fit!
Tools We Need to Punch Holes in Leather Shoes
- Leather Punch Tool: This is crucial for making clean and precise holes in leather. A revolving punch with different sizes allows you to choose the perfect diameter for your needs.
- Hammer: Needed if you use a drive punch; it helps deliver a sharp, clean cut through the leather.
- Cutting Mat or Scrap Wood: Use this as a base to protect your surfaces and ensure that the punch goes through cleanly without damaging anything underneath.
- Ruler or Measuring Tape: Essential for measuring the distance between holes and ensuring they are evenly spaced.
- Silver Marker or Chalk: Useful for marking where you want to punch the holes. These marking tools are visible on dark leather and can be wiped away if necessary.
- Rubbing Alcohol and Cotton Balls (optional): Clean the area before and after punching, which can help prevent the leather from fraying and maintain a clean look.
How to Punch Holes in Leather Shoes
If you need to make new holes in your leather shoes, whether to improve the fit or for decorative purposes, here’s a simple way to do it yourself at home. Let’s walk through each step:
Step 1: Gather Your Tools
Before you start, make sure you have all the necessary tools: a leather punch tool, a hammer, a cutting mat or piece of scrap wood, a ruler or measuring tape, a silver marker or chalk, and optionally, rubbing alcohol and cotton balls to clean the leather.
Step 2: Mark the Spot
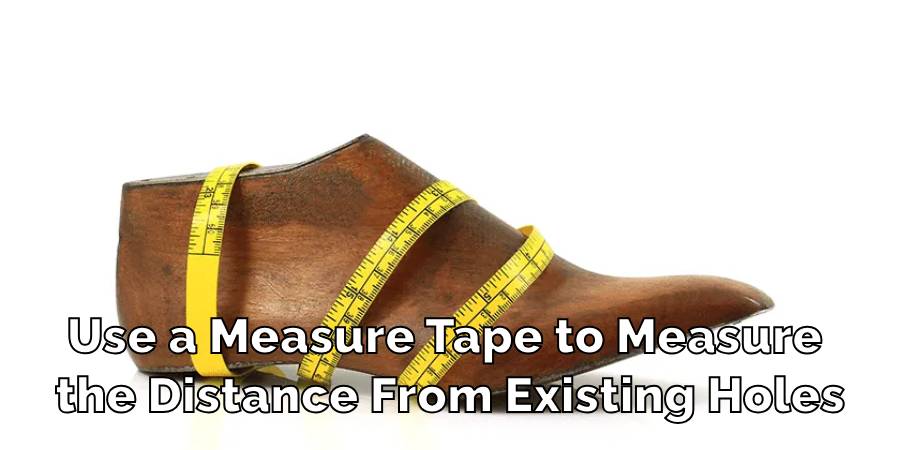
Decide where you want the new hole on your shoe. Use the ruler to measure the exact spot to ensure it aligns well with any existing holes and mark it clearly with your silver marker or chalk.
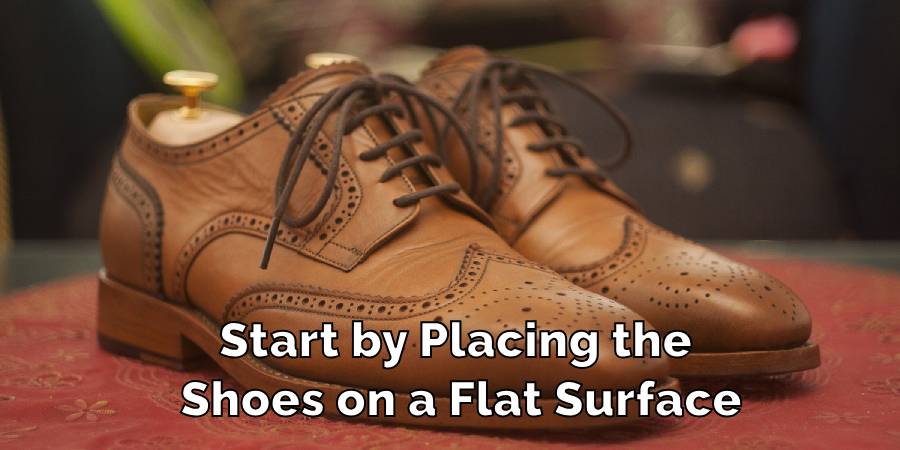
Step 3: Prepare the Area
Place your shoe on the cutting mat or scrap wood to protect your work surface. This setup will help you punch the hole cleanly without damaging anything underneath.
Step 4: Punch the Hole
Align the leather punch tool over your marked spot. Choose the correct hole size on the punch tool for the look or function you need. Hold the tool firmly and strike it with your hammer if needed to punch through the leather. Make sure to apply enough force to cut all the way through the leather.
Step 5: Clean Up
After punching the hole, you might see tiny leather bits or rough edges around the new hole. Wipe these away with a cotton ball dipped in rubbing alcohol. This will also help to keep the leather looking neat and prevent fraying.
By following these steps, you can add new holes to your leather shoes effectively, giving them a better fit or a new style.
Final Words
All set! Punching new holes in your leather shoes is a great way to customize their fit or add a personal touch. By following the steps I’ve outlined, you can easily make these adjustments right at home, saving you time and a trip to the cobbler.
Whether it’s to tighten a loose fit or just for a stylish twist, you now have the skills to take your footwear into your own hands. Remember, a little effort can make a big difference in how your shoes look and feel. Enjoy stepping out in your newly customized shoes!
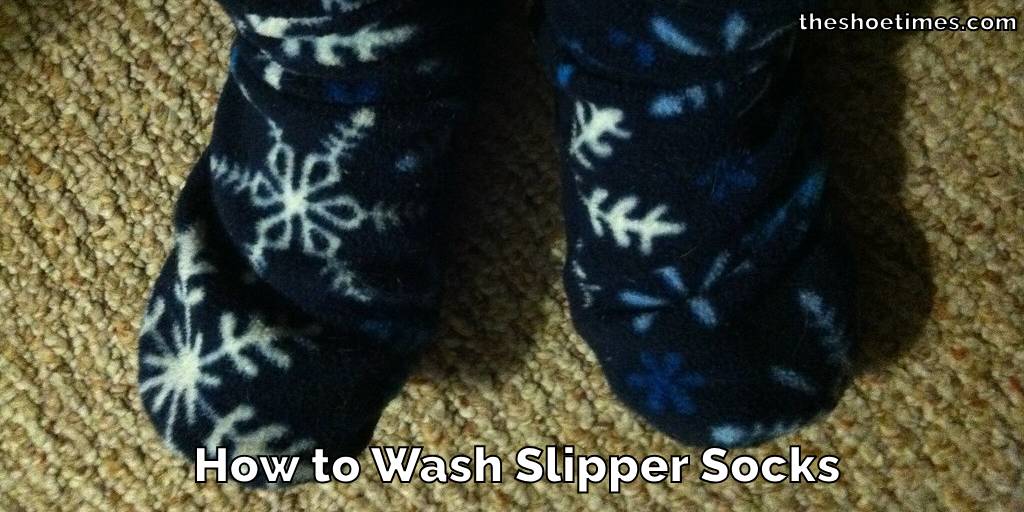
How to Wash Slipper Socks
Slipper socks are a cozy blend of comfort and warmth, perfect for lounging at home….
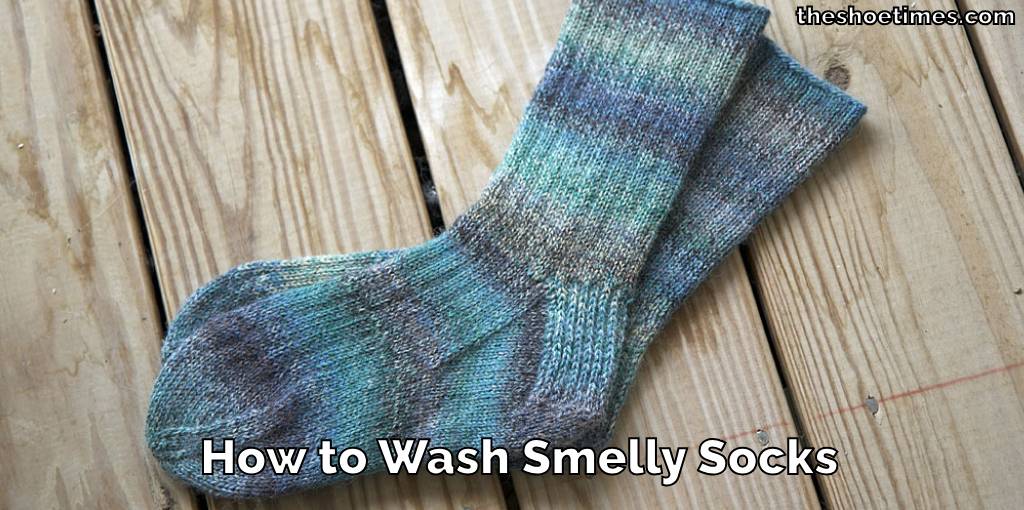
How to Wash Smelly Socks
Dealing with smelly socks is a common household challenge, but it doesn’t have to be…
How Many Pairs of Socks Should I Own
Deciding on the number of socks to own can surprisingly stir up quite the debate….
How to Prevent Socks From Static
Static cling can be a minor annoyance or a constant frustration, especially when it comes…
How to Wash Waterproof Socks
Washing waterproof socks properly is essential to maintain their effectiveness and durability. Whether you’re an…
How to Sell Used socks
Looking to declutter and make some extra cash? Selling used socks is a unique way…