
Ever noticed that dreaded hole peeking out of your beloved skate shoes? It’s like a tiny signal that your skate sessions have been intense, but also a little alarm that your favorite kicks need some TLC. Don’t sweat it, though. Today, I’ll guide you through “how to fix hole in skate shoe” a nifty way to patch up that hole, so you can get your skate shoes back in action without missing a beat.
It’s a small puncture or a growing tear, fixing it up can be simpler than you might think. Let’s get those shoes looking almost as good as new, with a fix that’s not only practical but also pretty cool to do yourself. Ready? Let’s dive in!
Tools We Need to Fix a Hole in a Skate Shoe
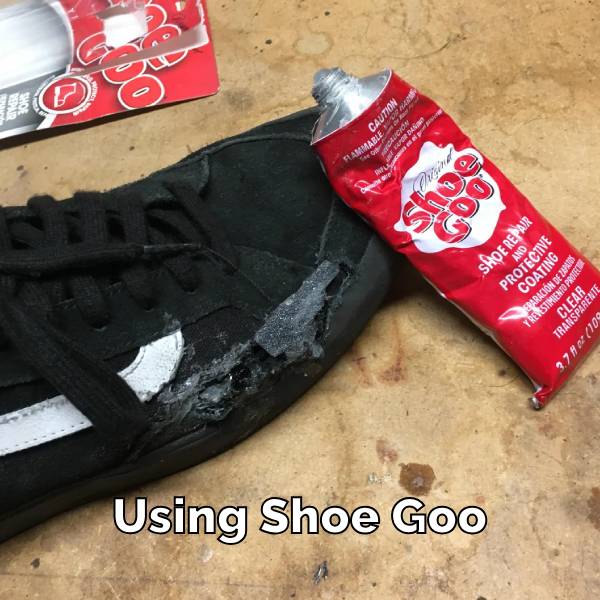
- Shoe Goo or Similar Adhesive: Shoe Goo is a popular choice because it’s designed for durability and flexibility, which is essential for skate shoes that undergo a lot of movement.
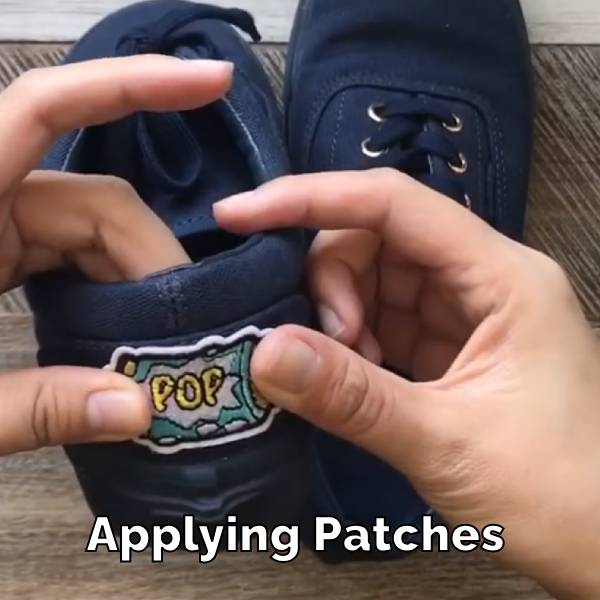
- Fabric Patches: You can use any sturdy fabric that matches or complements your shoe. Denim or canvas works well for a durable patch.
- Scissors: To cut the fabric patch to the right size.
- Sandpaper (optional): To roughen the area around the hole, which helps the adhesive bond better.
- Clear Tape (optional): To hold the patch in place while the adhesive dries.
- Toothpick or Small Spatula: For spreading the adhesive evenly and getting it deep into the edges of the hole.
- Rubber Gloves: To keep your hands clean and protected from the sticky adhesive.
How to Fix a Hole in a Skate Shoe
Luckily, there are a bunch of ways to fix those holes and get your skate shoes back in shape. Here’s a simple guide on how to do it:
Step 1: Prep Your Shoe
Before you start the repair, make sure your skate shoe is clean and dry. Remove any dirt or debris around the hole. If the edges of the hole are frayed, trim them neatly with scissors.
Step 2: Roughen the Surface
Use a piece of sandpaper to lightly scuff the area around the hole. This rough surface will help the adhesive bond more strongly to the shoe material.
Step 3: Cut the Patch
Take your fabric patch and cut it to a size that covers the hole completely, with about a half-inch overlap all around. If the hole is on a flex point of the shoe, consider using a stretchable fabric like neoprene for better movement.
Step 4: Apply the Adhesive.
Put on your rubber gloves, and apply a generous amount of Shoe Goo (or a similar flexible adhesive) to the area around the hole. Use a toothpick or small spatula to spread the glue evenly.
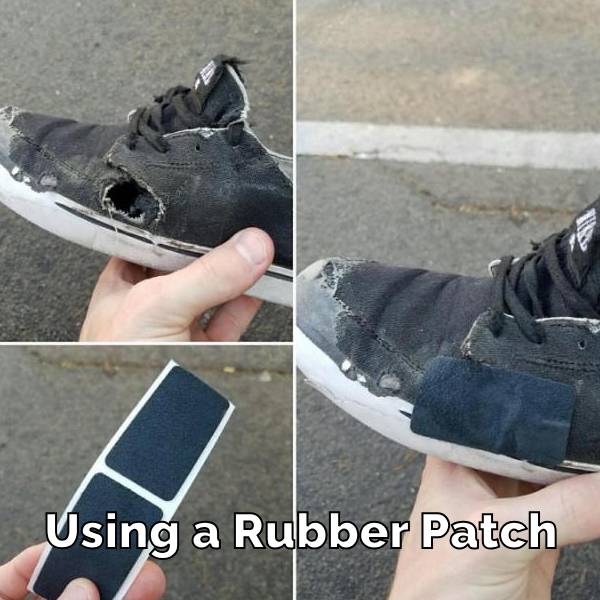
Step 5: Place the Patch
Press the fabric patch over the glued area, making sure it’s flat and smooth. If you’re using clear tape, you can place a piece over the patch to hold it in place while the glue dries. Just ensure the tape does not touch the glue directly.
Step 6: Let It Cure
Allow the adhesive to cure according to the instructions on the package—usually, this means letting it set for at least 24 hours. Avoid wearing the shoes during this time to ensure the patch adheres well.
Step 7: Check and Finish
Once the glue is dry, remove any tape if used. Check the edges of the patch to ensure they are securely attached. If necessary, apply more adhesive around the edges and let it cure again.
And there you have it! Your skate shoes should now be ready to hit the pavement again. Remember, while this fix can extend the life of your shoes, it’s also a good idea to regularly check for wear and tear to prevent future damage. Happy skating!
Final Words
And there you have it—a simple fix that keeps your favorite skate shoes rolling a bit longer. Remember, a little care can go a long way in extending the life of your kicks.
Don’t let a small hole stop you; with these steps, you’re not just repairing your shoes, you’re also adding a personal touch to your skate gear. Keep shredding, keep repairing, and most importantly, keep enjoying every ride!
You may also read – How to Identify Adidas Shoe Model
How to Wash Slipper Socks
Slipper socks are a cozy blend of comfort and warmth, perfect for lounging at home….
How to Wash Smelly Socks
Dealing with smelly socks is a common household challenge, but it doesn’t have to be…
How Many Pairs of Socks Should I Own
Deciding on the number of socks to own can surprisingly stir up quite the debate….
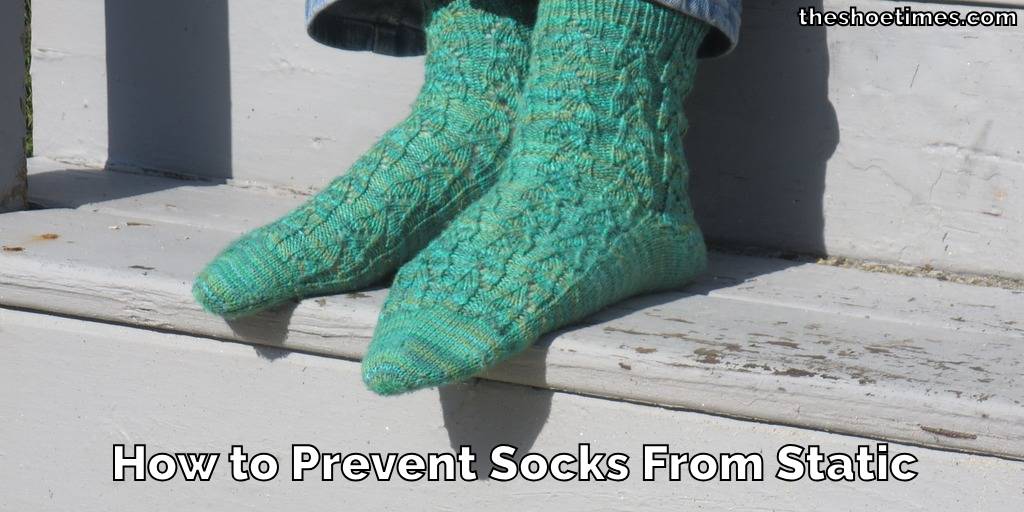
How to Prevent Socks From Static
Static cling can be a minor annoyance or a constant frustration, especially when it comes…
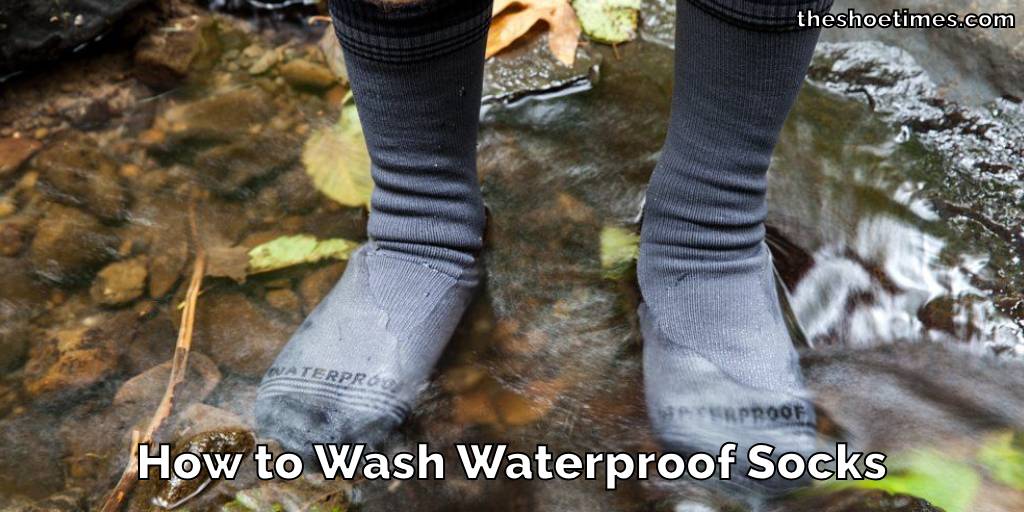
How to Wash Waterproof Socks
Washing waterproof socks properly is essential to maintain their effectiveness and durability. Whether you’re an…
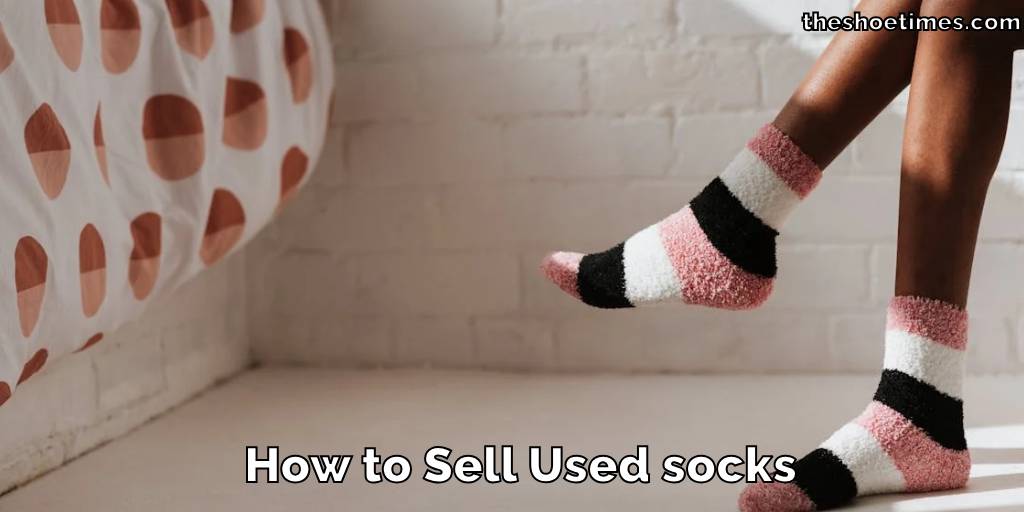
How to Sell Used socks
Looking to declutter and make some extra cash? Selling used socks is a unique way…