
Are your shoe insoles playing a disappearing act on you? Fret not, because I’ve got just the fix for you! There’s nothing more annoying than feeling your insole slip and slide with every step, disrupting your comfort and stride.
But fear not, my friend, for I’m here to guide you through the process of putting those pesky insoles back where they belong. Say goodbye to the frustration of a loose insole and hello to walking with confidence once again.
So, tighten those laces, and let’s dive into the simple yet effective solution to keep your insoles snugly in place.
Tools Needed to Fix Shoe Insole Coming Off
- Adhesive: Look for a strong adhesive specifically designed for shoe repair. You’ll want something durable enough to withstand daily wear and tear.
- Clean Cloth: Before applying any adhesive, ensure the surface of both the insole and the shoe is clean and free of any dirt or debris. A clean cloth will do the trick.
- Rubbing Alcohol: This will help remove any traces of oil or residue from the surfaces you’re bonding together, ensuring a strong and long-lasting hold.
- Weight: Depending on the adhesive you choose, you may need a weight or clamp to apply pressure while the bond sets. This will help ensure a secure attachment.
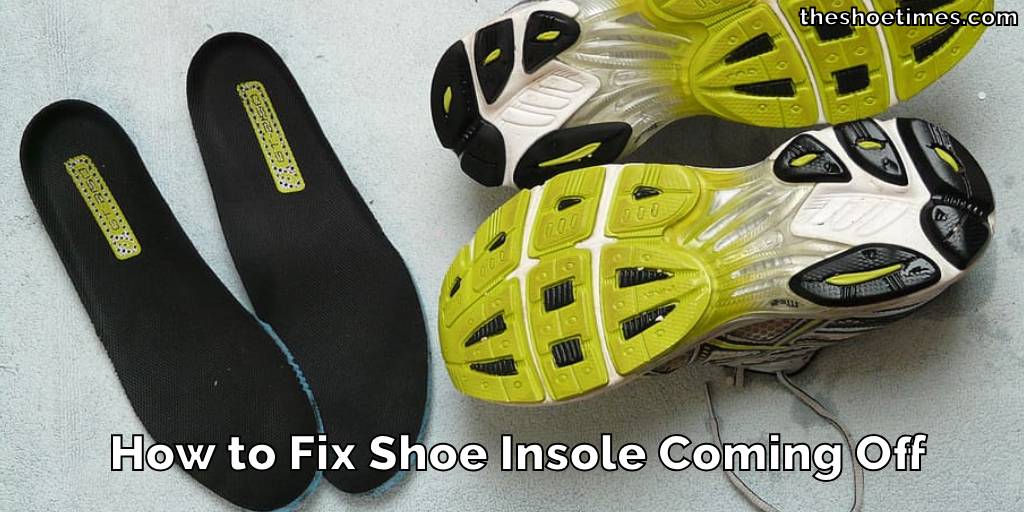
How to Fix Shoe Insole Coming Off
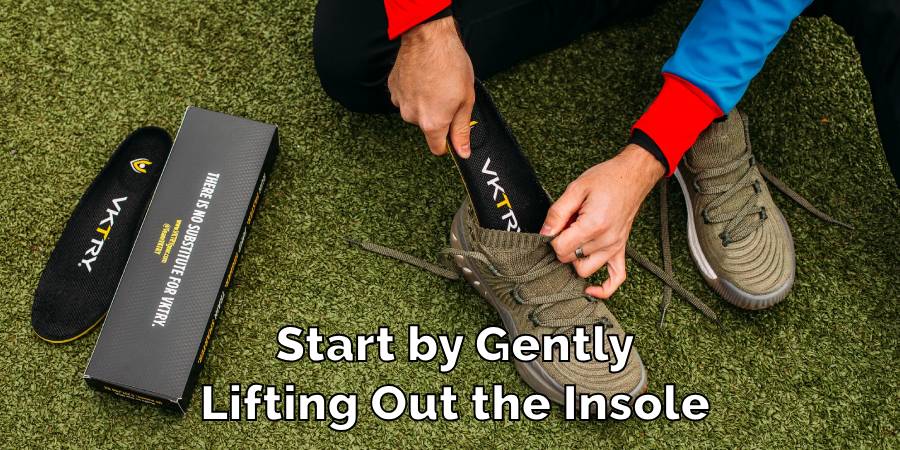
Gather Your Tools
Collect the necessary items for the job: strong adhesive, a clean cloth, rubbing alcohol, and a weight or clamp if needed.
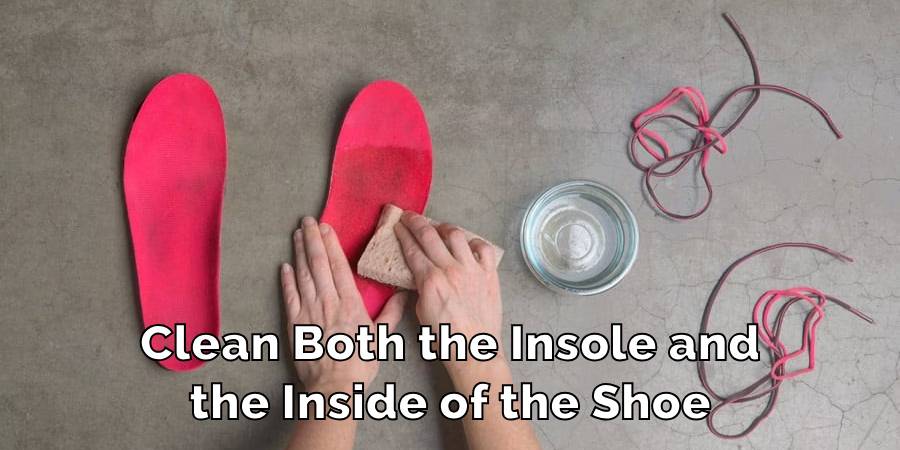
Clean the Surfaces
Use the clean cloth and rubbing alcohol to thoroughly clean both the insole and the inside of the shoe. This ensures a clean, debris-free surface for the adhesive to bond to.
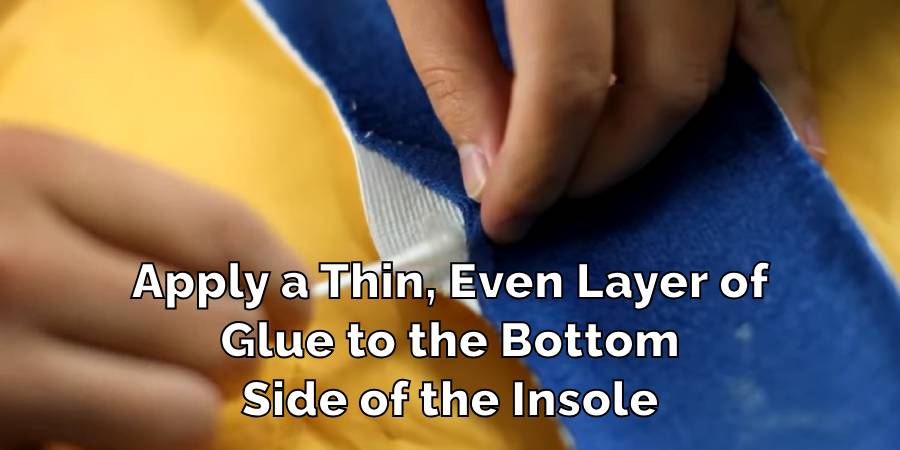
Apply the Adhesive
Spread a layer of adhesive onto both the cleaned surfaces. Be sure to follow the instructions on the adhesive packaging for the best results.
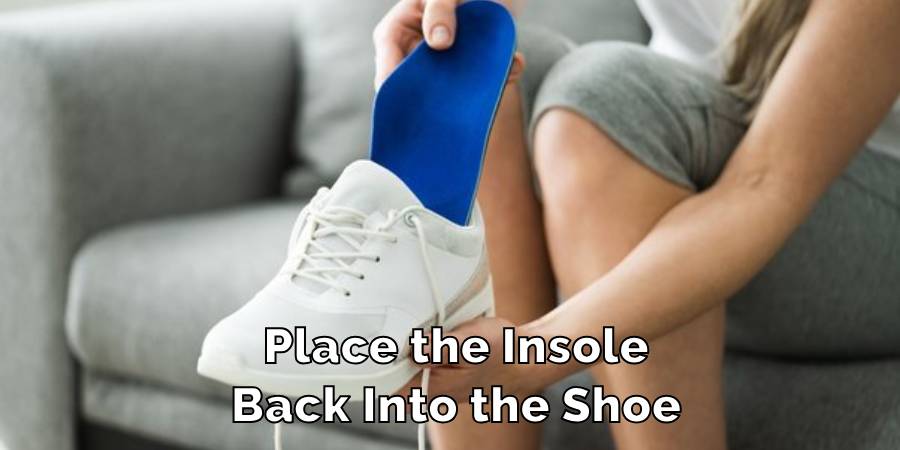
Press Together Firmly
Once the adhesive is applied, press the insole firmly onto the inside of the shoe, ensuring good contact between the two surfaces.
Use a Weight or Clamp (If Necessary)
Depending on the type of adhesive used, you may need to apply pressure to the bond while it sets. Use a weight or clamp to hold the insole in place securely.
Allow Time to Dry
Let the adhesive dry completely according to the manufacturer’s instructions. This may take some time, so be patient and avoid wearing the shoes until the adhesive has fully set.
Test and Adjust if Needed
Once the adhesive has dried, test the bond by gently tugging on the insole. If it feels secure, you’re good to go! If not, repeat the process or try using a stronger adhesive.
Final Words
By following these straightforward steps, you can say goodbye to the frustration of a loose shoe insole. With just a few basic tools and a little bit of patience, you can restore comfort and stability to your favorite pair of shoes.
Remember, cleanliness is key to a strong bond, so take the time to clean the surfaces thoroughly before applying adhesive. And don’t forget to allow ample time for the adhesive to dry completely before wearing your shoes again.
With your insoles securely in place, you can step out with confidence, knowing that your shoes are ready to support you every step of the way.
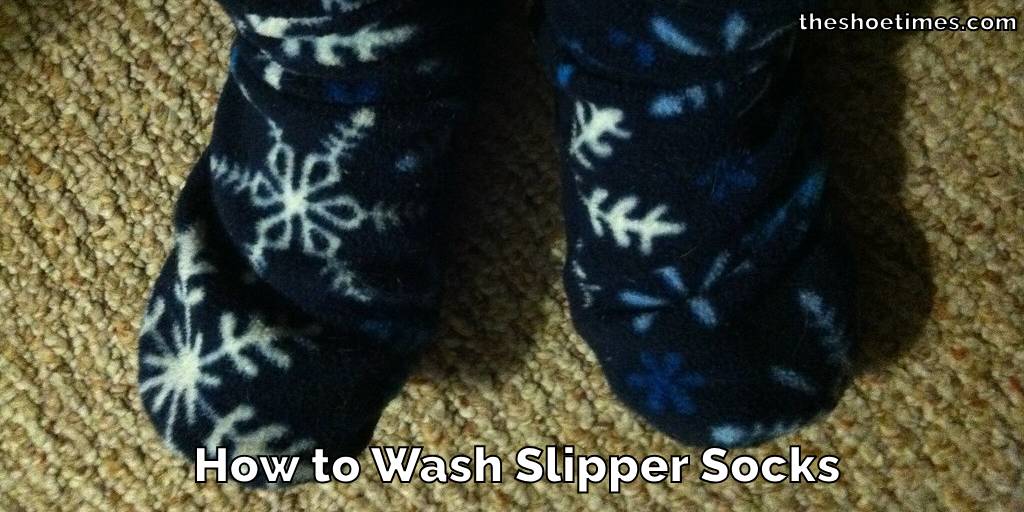
How to Wash Slipper Socks
Slipper socks are a cozy blend of comfort and warmth, perfect for lounging at home….
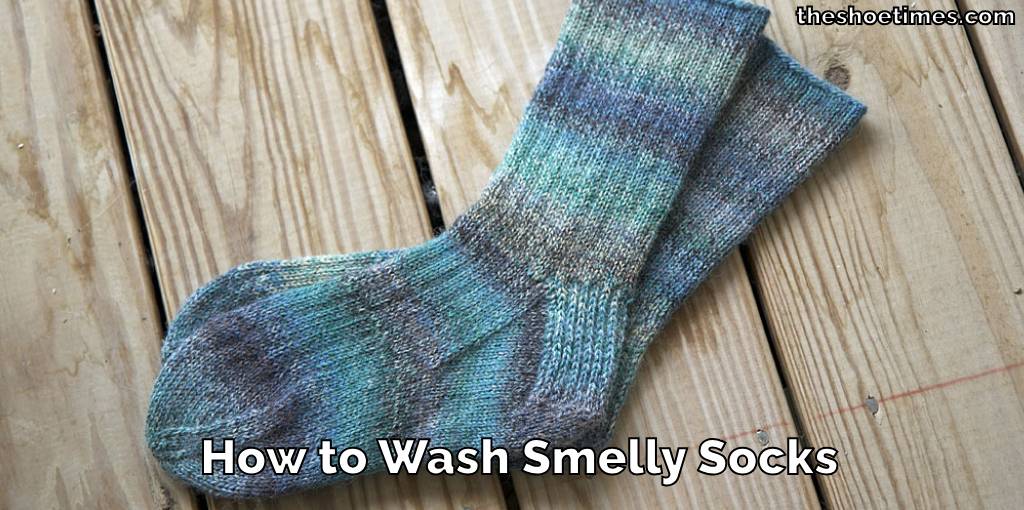
How to Wash Smelly Socks
Dealing with smelly socks is a common household challenge, but it doesn’t have to be…
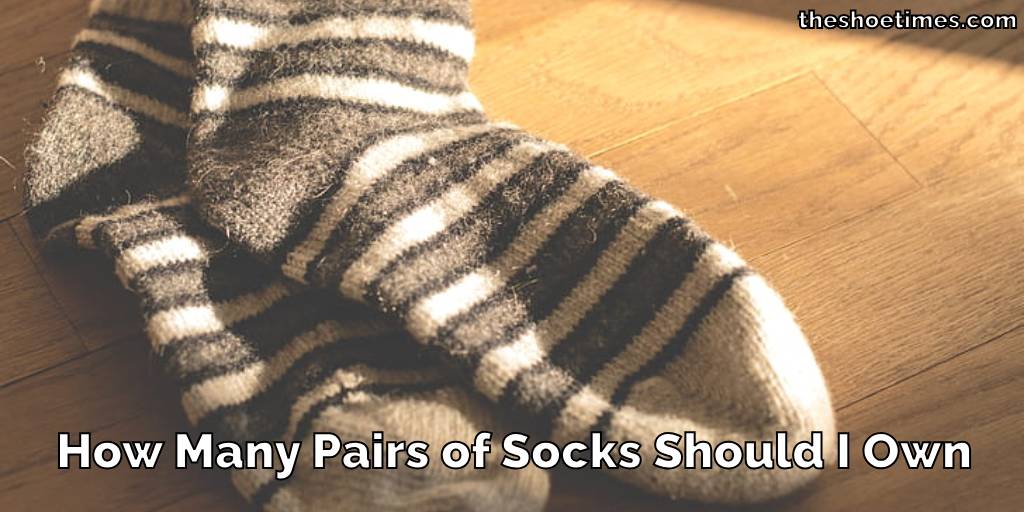
How Many Pairs of Socks Should I Own
Deciding on the number of socks to own can surprisingly stir up quite the debate….
How to Prevent Socks From Static
Static cling can be a minor annoyance or a constant frustration, especially when it comes…
How to Wash Waterproof Socks
Washing waterproof socks properly is essential to maintain their effectiveness and durability. Whether you’re an…
How to Sell Used socks
Looking to declutter and make some extra cash? Selling used socks is a unique way…