
Air bubbles in your shoes, especially if they’re new or athletic types, can be both annoying and uncomfortable, disrupting your stride and comfort. Thankfully, removing them isn’t as difficult as it might seem.
This brief guide will show you “How to Get Rid of An Air Bubble in Your Shoe” a few straightforward methods to eliminate those pesky air bubbles, ensuring your shoes fit perfectly and feel great, whether you’re running a marathon or just running errands.
Get ready to step back into comfort with these easy solutions!
Tools We Need to Fix Air Bubble in Your Shoe
- Hairdryer or heat gun: To soften the shoe material.
- Needle or pin: To puncture the air bubble and release the trapped air.
- Rubber cement or appropriate adhesive: To bond separated shoe layers back together.
- Clamps or weights: To apply pressure and ensure the adhesive works effectively.
- Clean cloth or rag: To protect the shoe’s surface while applying pressure.
How to Get Rid of An Air Bubble in Your Shoe
If you’ve got an air bubble in your shoe, it’s more than just uncomfortable—it can actually shorten the life of your shoe. But don’t worry, fixing it is pretty simple. Here’s how you can do it:
Step 1: Prepare Your Shoe
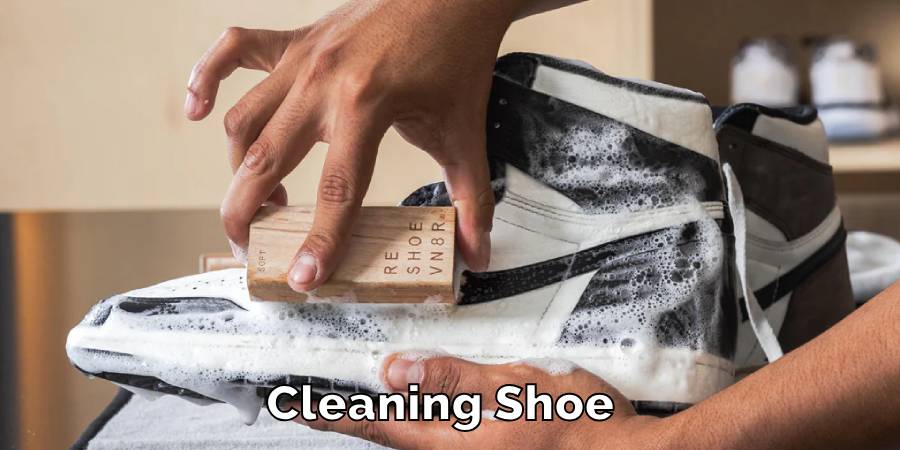
Make sure your shoe is clean and dry. Work on a flat surface to keep things easy.
Step 2: Soften the Shoe Material
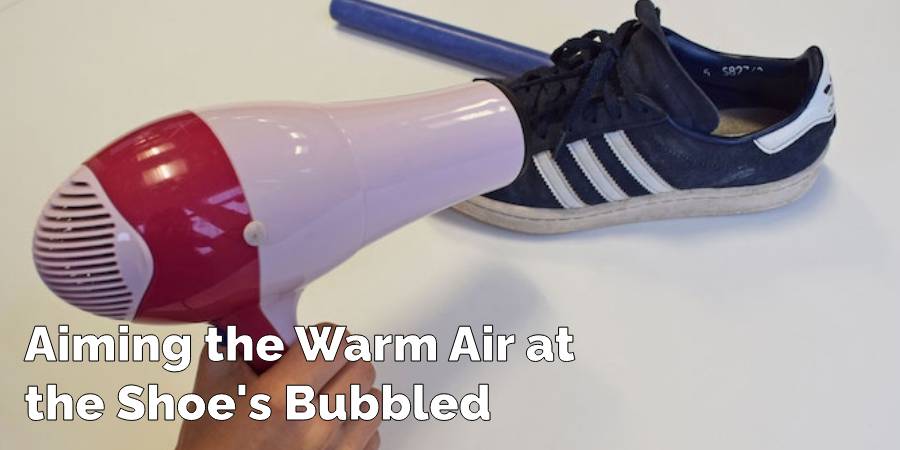
Heat the area with the bubble using a hairdryer. This makes the material softer and easier to manage.
Step 3: Find the Bubble
Feel around to locate the bubble. Once you find it, mark it with a pen or make a small circle around it.
Step 4: Deflate the Bubble
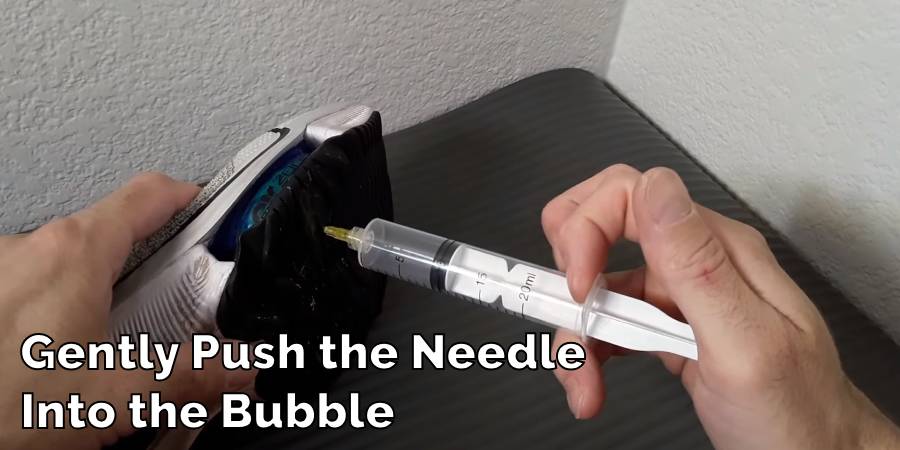
Sanitize a needle or pin with rubbing alcohol. Gently pierce the bubble with the needle to let the air out. Be careful to avoid further damage.
Step 5: Glue the Layers
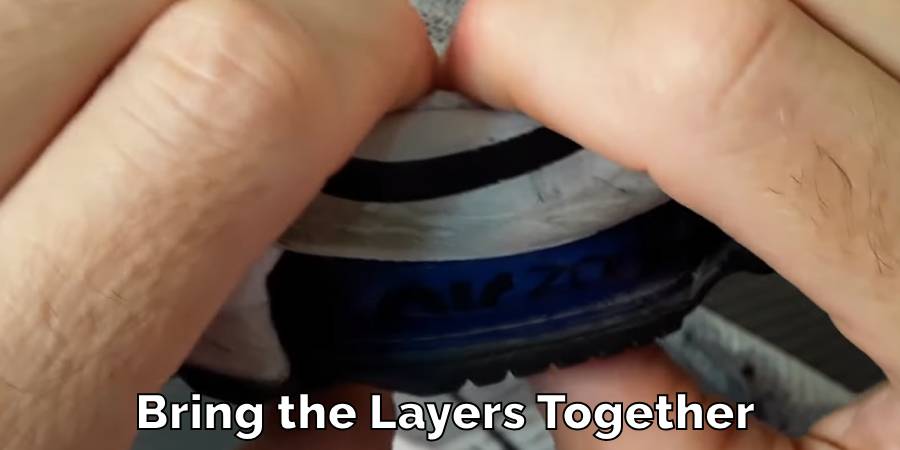
If the bubble is from the shoe layers coming apart, put a bit of rubber cement in the hole. Check the glue package for specific instructions.
Step 6: Press and Seal
Cover the spot with a soft cloth and place something heavy, like a book, on top to press the layers together firmly.
Step 7: Let It Dry
Leave your shoe with the weight on top for about 24 hours to let the glue set completely.
Following these steps should help you get rid of the air bubble and make your shoe comfortable again. If you’re not confident in fixing it yourself, it might be a good idea to take it to a shoe repair expert.
Final Words
Air bubbles in your shoes can disrupt your stride and comfort, but they don’t have to be a permanent issue. With the right approach, you can quickly fix these nuisances and get back to enjoying a smooth, comfortable walk.
We’ve outlined a straightforward method to remove air bubbles, emphasizing the importance of being gentle and patient to avoid further damage. Remember, treating your shoes well extends your life and enhances your walking experience.
Check out our guide on – How to sew pointe shoe ribbons and elastics.
How to Wash Slipper Socks
Slipper socks are a cozy blend of comfort and warmth, perfect for lounging at home….
How to Wash Smelly Socks
Dealing with smelly socks is a common household challenge, but it doesn’t have to be…
How Many Pairs of Socks Should I Own
Deciding on the number of socks to own can surprisingly stir up quite the debate….
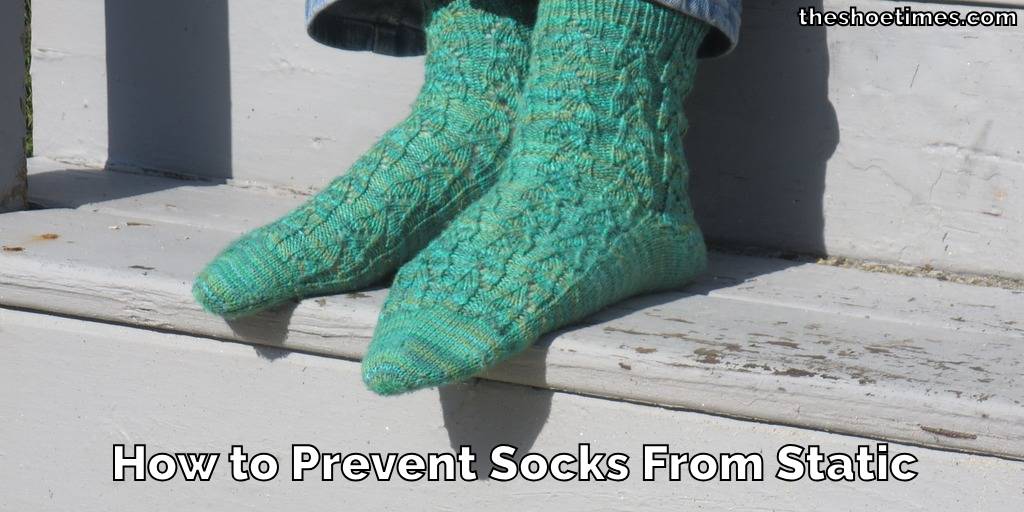
How to Prevent Socks From Static
Static cling can be a minor annoyance or a constant frustration, especially when it comes…
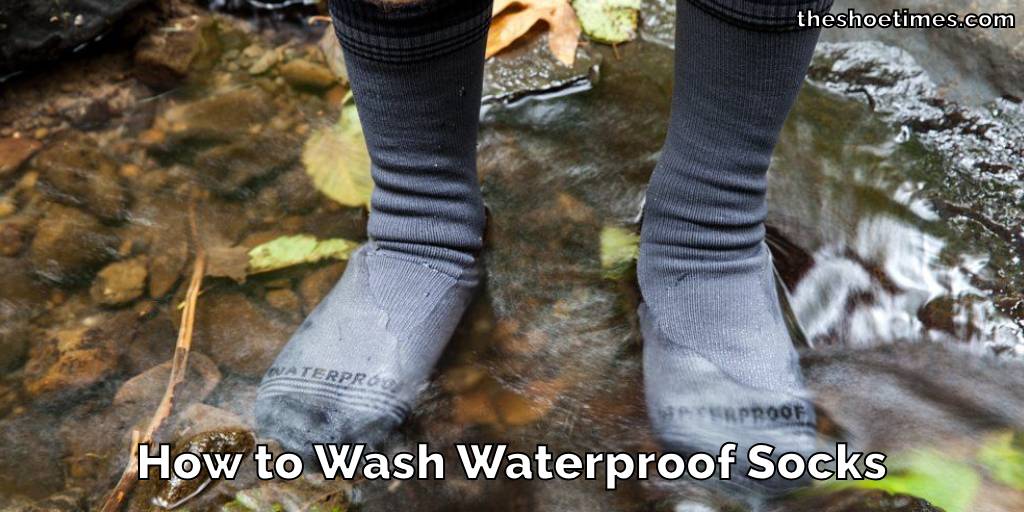
How to Wash Waterproof Socks
Washing waterproof socks properly is essential to maintain their effectiveness and durability. Whether you’re an…
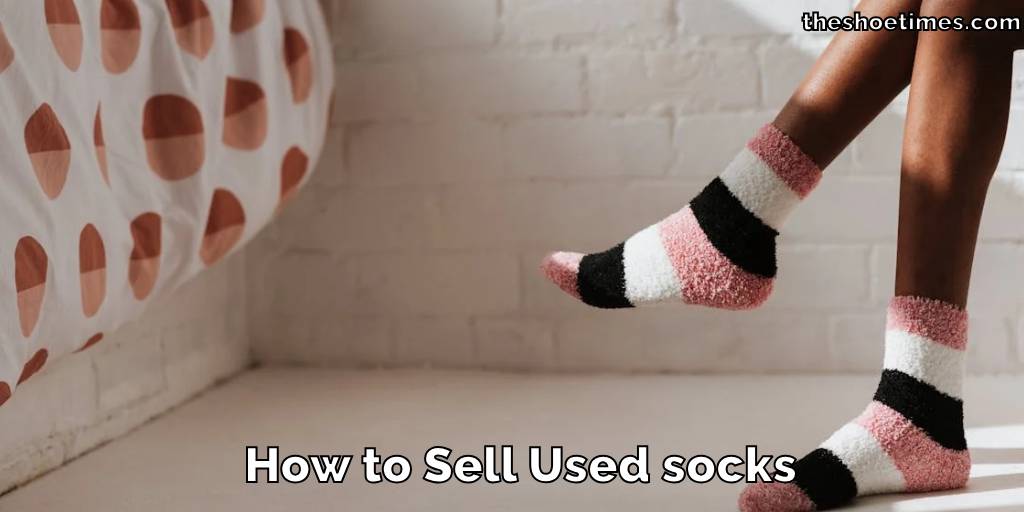
How to Sell Used socks
Looking to declutter and make some extra cash? Selling used socks is a unique way…