
Installing shoe molding without a nail gun might seem daunting, but fear not! With the right tools and techniques, it’s a straightforward process that anyone can tackle.
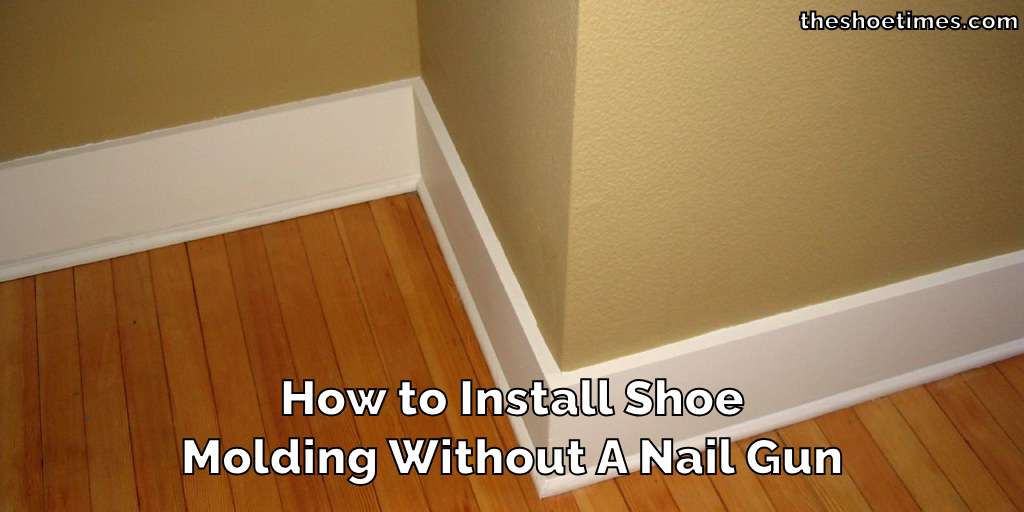
Whether you’re looking to enhance the look of your home or add a finishing touch to a DIY project, learning how to install shoe molding without a nail gun opens up a world of possibilities. Let’s dive in and discover how you can achieve professional-looking results with ease!
Tools We Need to Install Shoe Molding Without A Nail Gun
- Shoe Molding: Choose the type and length of shoe molding that matches your project. You can find it in various materials like wood, PVC, or composite.
- Measuring Tape: Use a measuring tape to accurately measure the length of the walls where you’ll be installing the molding.
- Miter Saw or Hand Saw: A miter saw is ideal for making precise angled cuts, but a hand saw can also get the job done if you’re comfortable with it.
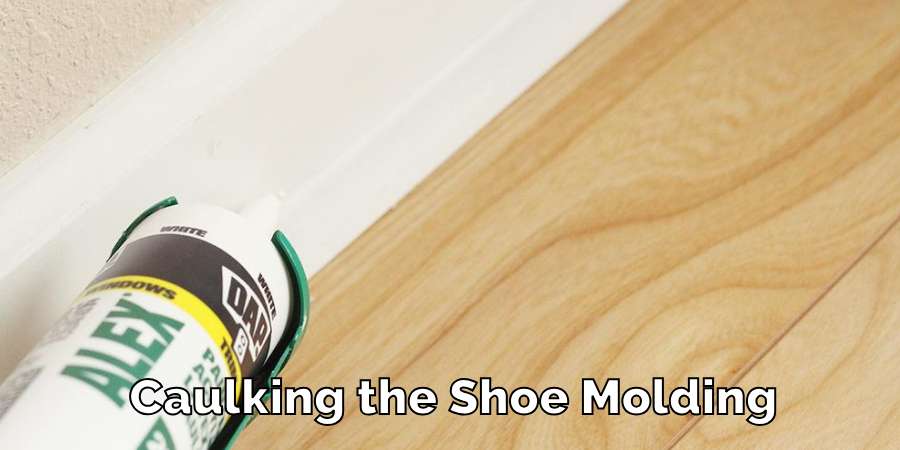
- Adhesive Caulk: Select a strong adhesive caulk designed for molding installation. This will help secure the molding to the wall without nails.
- Caulk Gun: Use a caulking gun to apply the adhesive caulk evenly along the back of the molding.
- Painter’s Tape: Painter’s tape can be helpful for holding the molding in place while the adhesive caulk sets.
How to Install Shoe Molding Without A Nail Gun
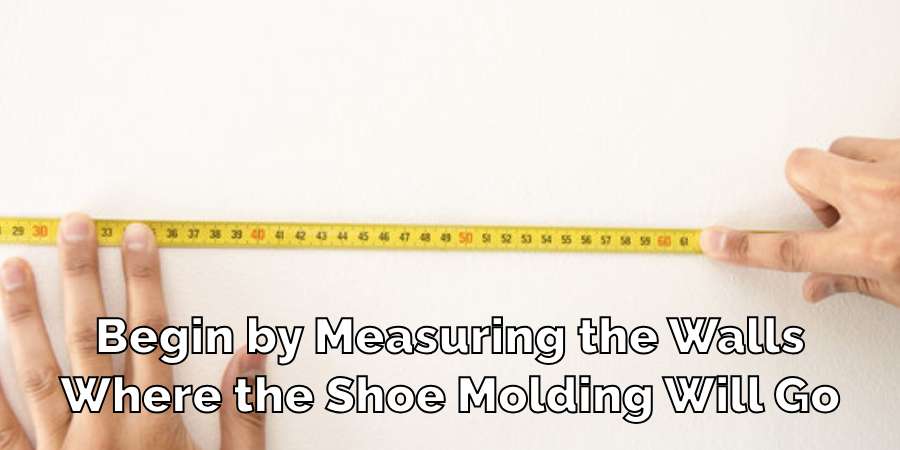
Measure the Wall
Measure the length of the wall where you’ll be installing the molding.
Cut the Molding
Use a miter saw or hand saw to cut the molding at a 45-degree angle for corners and straight cuts for straight sections.
Apply Adhesive Caulk
Apply a bead of adhesive caulk along the back of the molding.
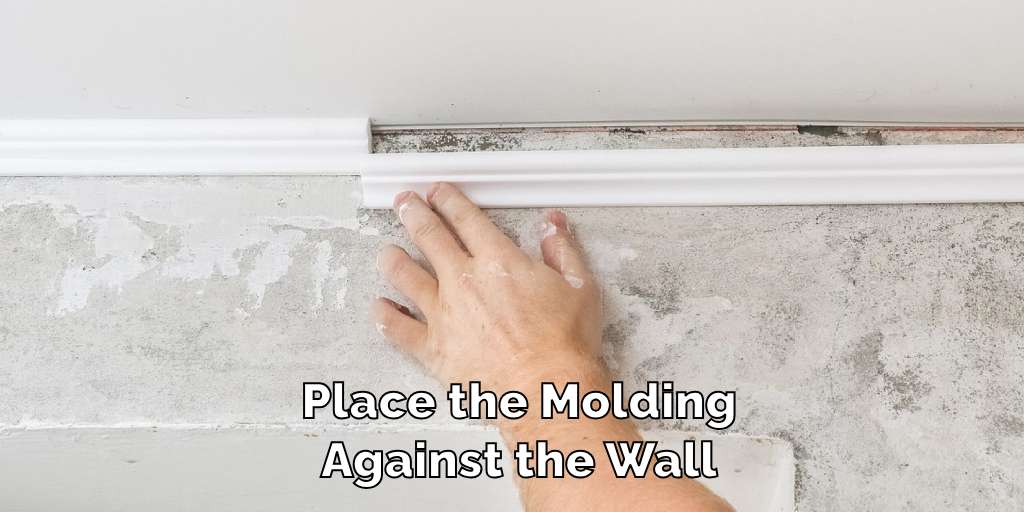
Press Molding in Place
Press the molding firmly against the wall, ensuring it’s flush with the baseboard.
Secure with Painter’s Tape
Use painter’s tape to hold the molding in place while the adhesive caulk sets.
Repeat for Each Section
Repeat the process for each section of molding, aligning the pieces neatly.
Allow Caulk to Dry
Let the adhesive caulk dry according to the manufacturer’s instructions.
Remove Painter’s Tape
Once the caulk has dried, carefully remove the painter’s tape.
Final Words
Installing shoe molding without a nail gun is a simple and achievable task with the right tools and technique. By following these steps—measuring, cutting, applying adhesive caulk, pressing the molding into place, securing with painter’s tape, and allowing the caulk to dry—you can achieve professional-looking results without the hassle of nails.
With a bit of patience and attention to detail, your shoe molding will enhance the look of your space with ease.
You may read also – How to Prevent Shoe Tongue from Sliding without Loop
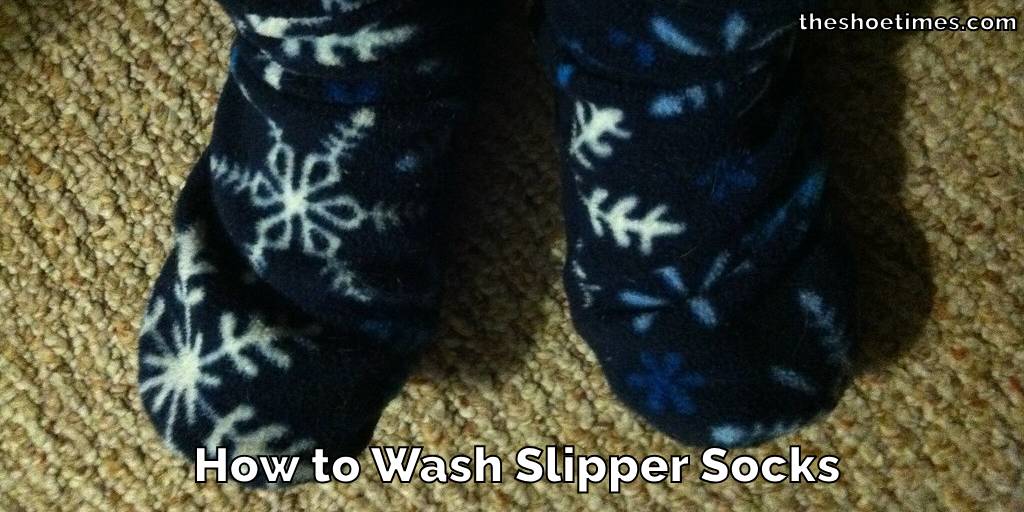
How to Wash Slipper Socks
Slipper socks are a cozy blend of comfort and warmth, perfect for lounging at home….
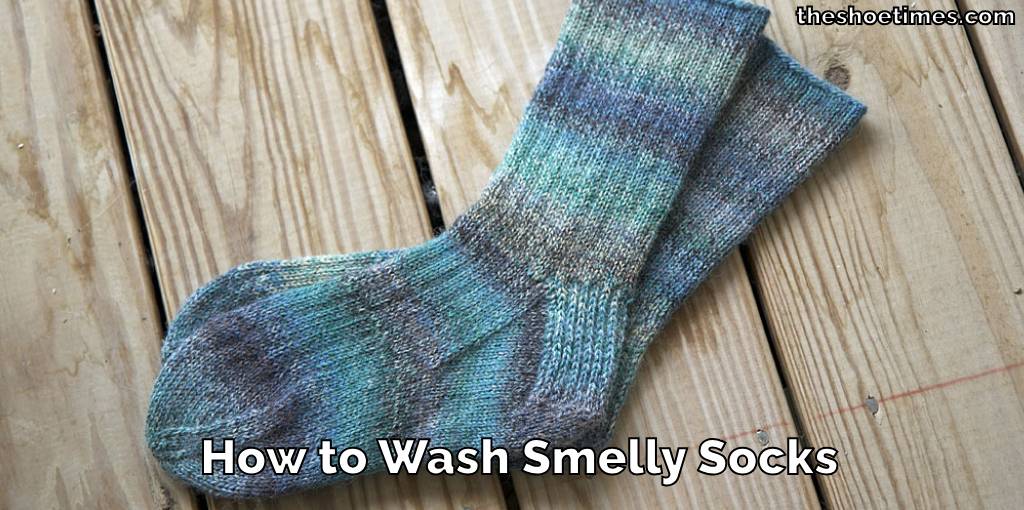
How to Wash Smelly Socks
Dealing with smelly socks is a common household challenge, but it doesn’t have to be…
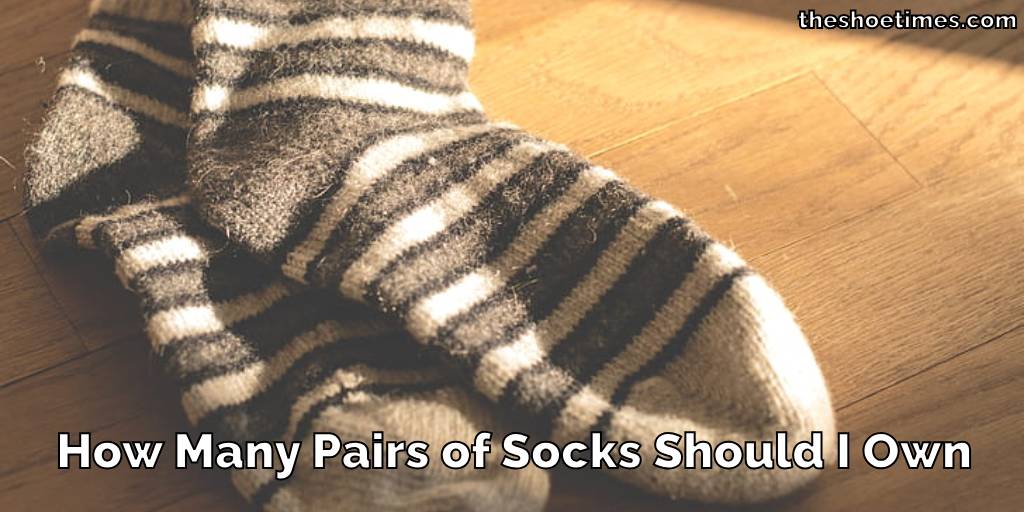
How Many Pairs of Socks Should I Own
Deciding on the number of socks to own can surprisingly stir up quite the debate….
How to Prevent Socks From Static
Static cling can be a minor annoyance or a constant frustration, especially when it comes…
How to Wash Waterproof Socks
Washing waterproof socks properly is essential to maintain their effectiveness and durability. Whether you’re an…
How to Sell Used socks
Looking to declutter and make some extra cash? Selling used socks is a unique way…