
Hey there, fellow golf enthusiasts! Ever found yourself on the golf course wishing you had the perfect pair of golf shoes to enhance your game? Well, what if I told you that you could transform any ordinary shoe into a golf-ready masterpiece?
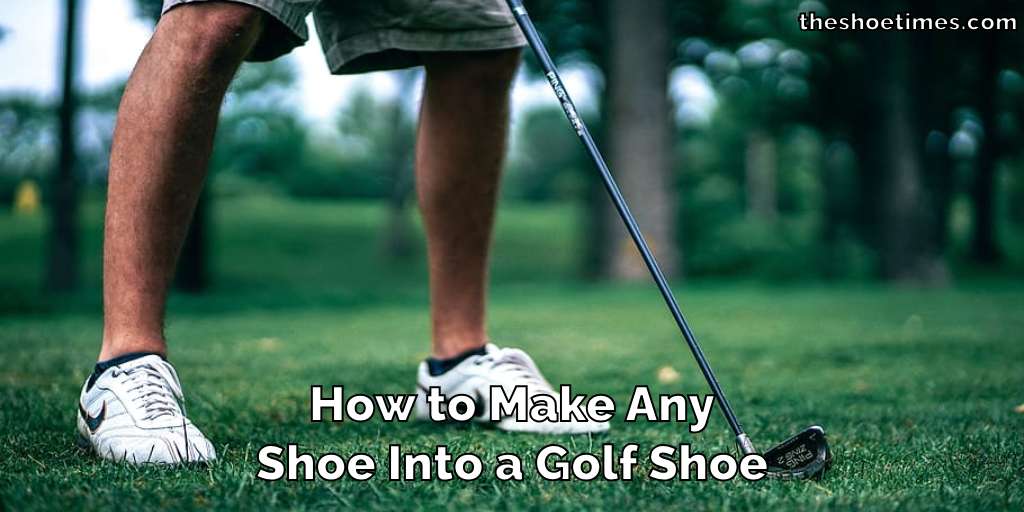
That’s right! Today, we’re diving into the world of DIY golf shoe customization, where we’ll explore some ingenious methods to turn your favorite kicks into the ultimate golfing companions. So, grab your shoes and let’s tee off into this exciting journey of shoe transformation!
Tools Needed to Make Any Shoe Into a Golf Shoe
- Drill or Screwdriver: You’ll need this to attach the spikes or cleats to the sole of your shoe securely.
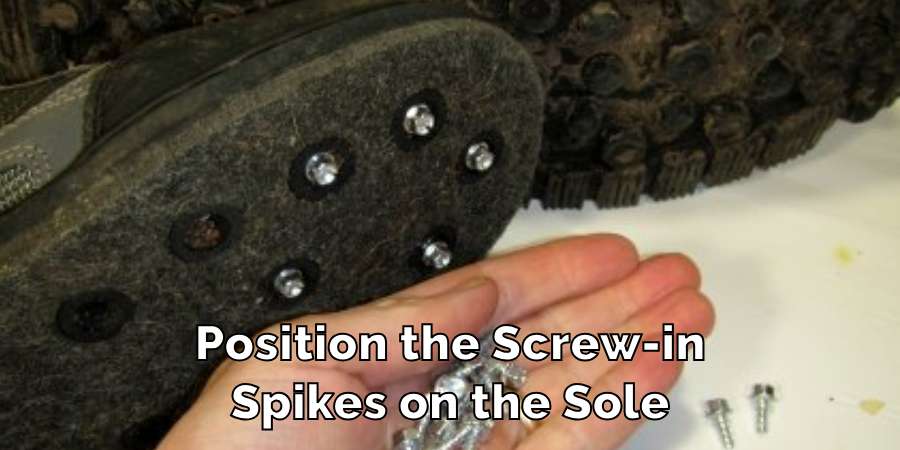
- Golf Spikes or Cleats: These are essential for providing traction and stability on the golf course. You can find them at your local sporting goods store or online.
- Spike Wrench: This handy tool will help you tighten and adjust the spikes on your shoes for the perfect fit.
- Waterproof Sealant: Golf courses can get wet, so it’s essential to protect your shoes from moisture. A waterproof sealant will keep your feet dry and comfortable throughout your game.
- Marker or Pen: You’ll use this to mark the placement of the spikes on the sole of your shoe before drilling.
- Safety Glasses: Safety first! Protect your eyes while drilling or screwing in the spikes.
How to Make Any Shoe Into a Golf Shoe
Gather Your Tools
Get your hands on a drill or screwdriver, golf spikes or cleats, a spike wrench, waterproof sealant, a marker or pen, and safety glasses.

Mark the Placement
Use the marker or pen to mark where you want to attach the spikes on the sole of your shoe. This step ensures they’re evenly placed for optimal traction.
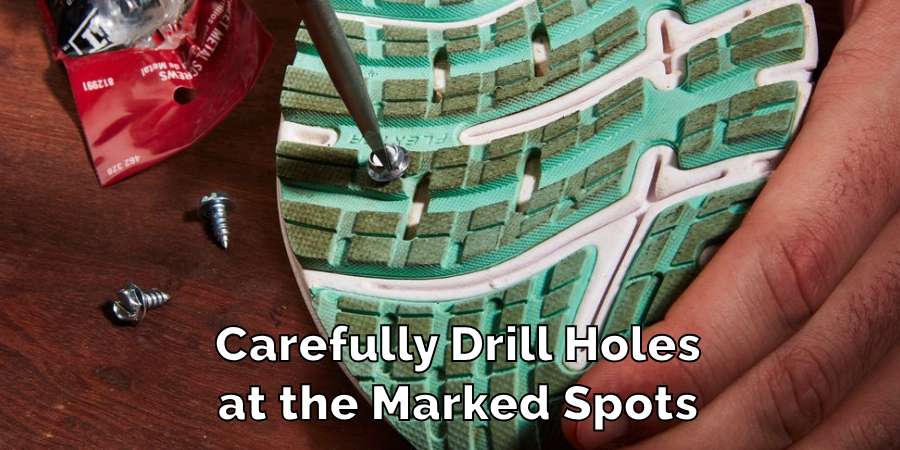
Attach the Spikes
Carefully drill or screw the spikes into the marked spots on the sole of your shoe. Make sure they’re firmly secured to withstand the rigors of the golf course.
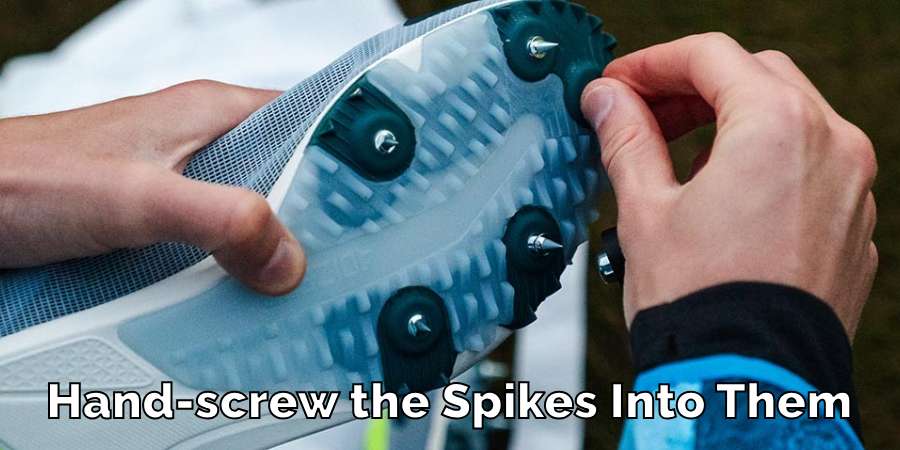
Tighten with Spike Wrench:
Once the spikes are in place, use the spike wrench to tighten them securely. This ensures they won’t come loose during your game.
Apply Waterproof Sealant
Protect your shoes from moisture by applying a waterproof sealant. This step keeps your feet dry and comfortable, no matter the conditions on the course.
Final Touches
Give your shoes a once-over to make sure everything is secure and sealed. Now, you’re ready to step onto the green with confidence and style!
Final Words
Turning any old shoe into a golf shoe is totally doable. You just need some basic tools and a bit of patience. Once you’ve attached the spikes and sealed them up, you’re good to go!
With your DIY golf shoes, you’ll be ready to tackle the course with confidence and style. So go ahead, give it a try, and see the difference it makes in your game. Happy golfing!”
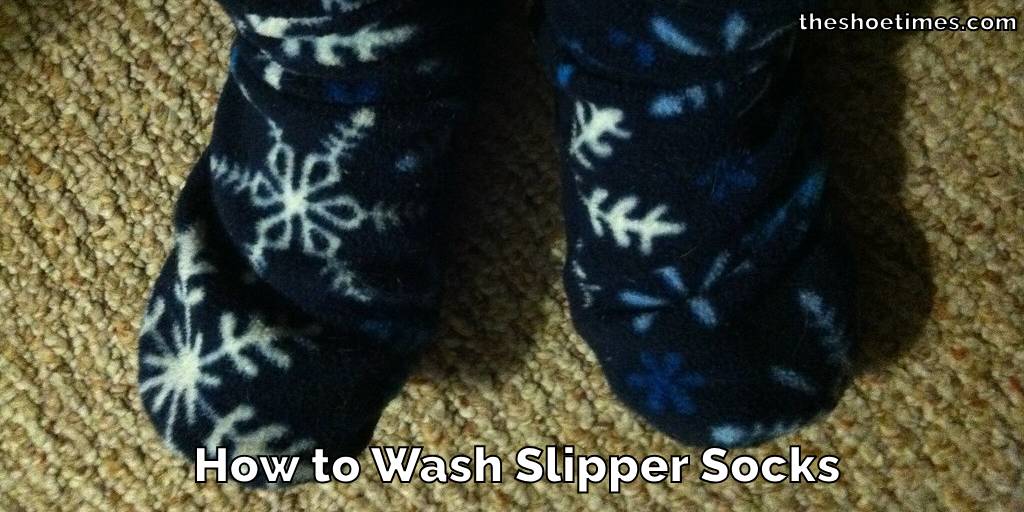
How to Wash Slipper Socks
Slipper socks are a cozy blend of comfort and warmth, perfect for lounging at home….
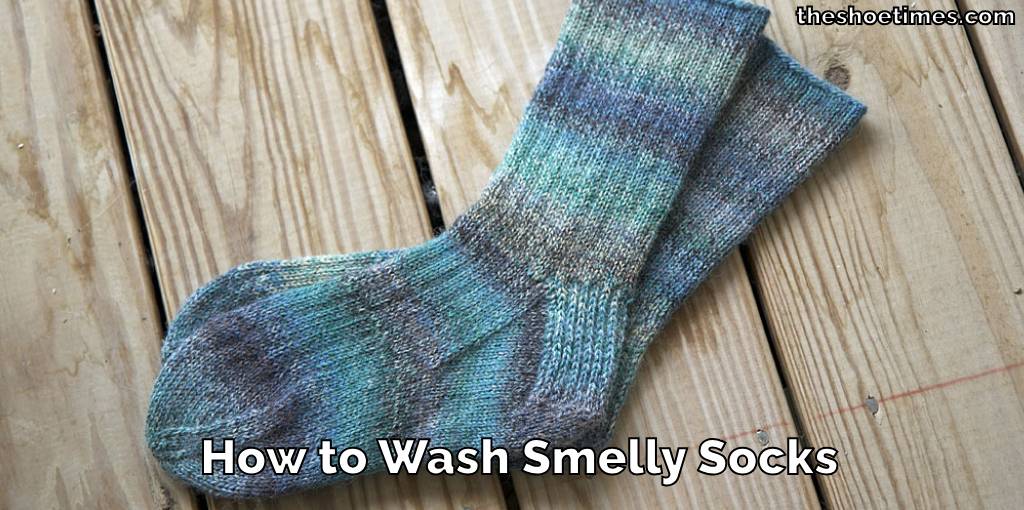
How to Wash Smelly Socks
Dealing with smelly socks is a common household challenge, but it doesn’t have to be…
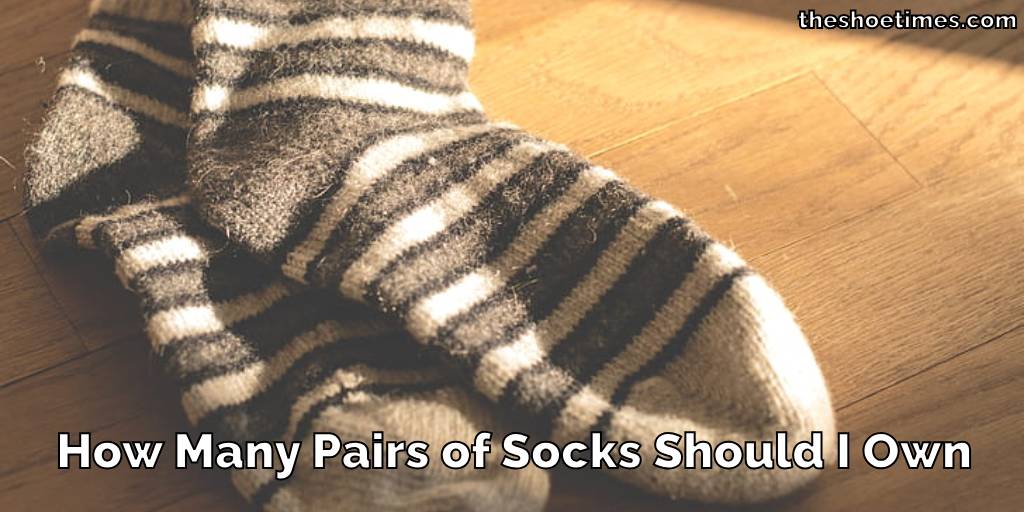
How Many Pairs of Socks Should I Own
Deciding on the number of socks to own can surprisingly stir up quite the debate….
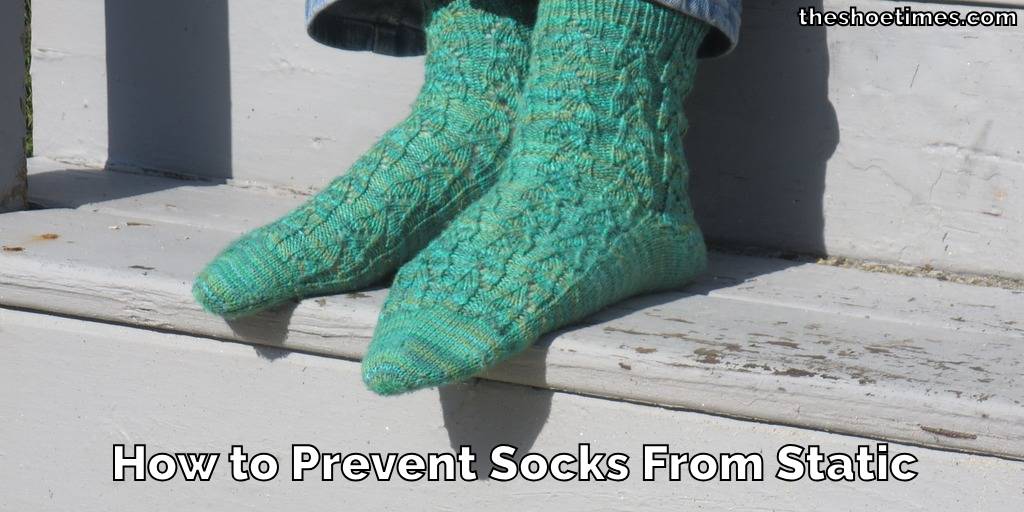
How to Prevent Socks From Static
Static cling can be a minor annoyance or a constant frustration, especially when it comes…
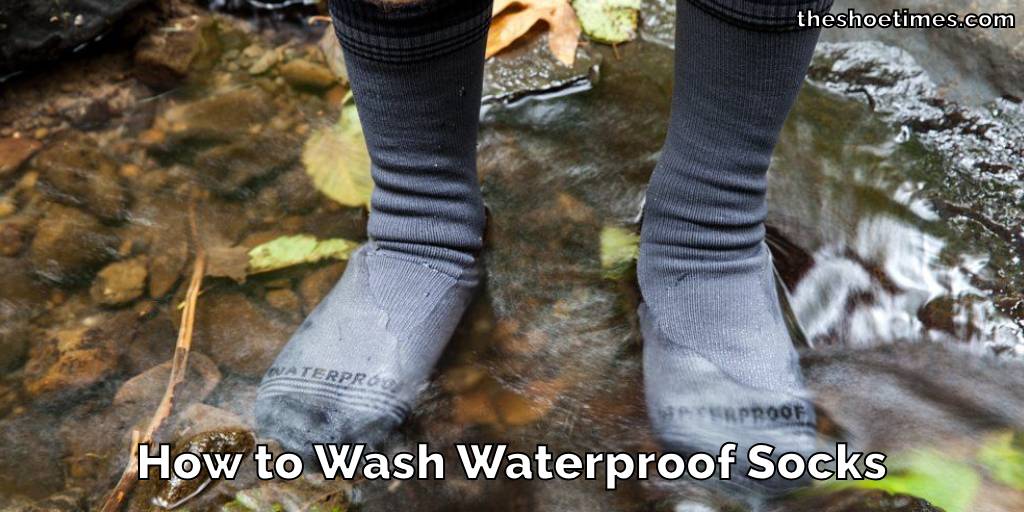
How to Wash Waterproof Socks
Washing waterproof socks properly is essential to maintain their effectiveness and durability. Whether you’re an…

How to Sell Used socks
Looking to declutter and make some extra cash? Selling used socks is a unique way…