
Are you in a bind because your favorite pair of shoes has come apart, and you need them ready for an outing tomorrow? Shoe Goo is a fantastic solution for repairing footwear, but waiting for it to dry can feel like watching the paint dry. Luckily, there are a few tricks to speed up the process.

Whether you’re a seasoned DIYer or a first-timer looking to fix your kicks quickly, this guide will walk you through how to make shoe goo dry faster and the steps to make your Shoe Goo dry faster, ensuring your shoes are ready to go when you are.
Tools We Need to Make Shoe Goo Dry Faster
- Hair Dryer or Heat Gun: A quick blast of warm air can significantly speed up the drying process.
- Fan: A standard room fan helps circulate air around the shoe, reducing drying time.
- Clamps or Weights: To keep the glued parts firmly together while they dry.
- Wax Paper or Foil: Useful for lining the area around the glue application to prevent sticking and messes.
- Timer or Stopwatch: To monitor the drying time accurately, ensure you don’t overheat or move the shoe prematurely.
- Gloves: To keep your hands clean and protected from the sticky adhesive.
- Safety Glasses: Optional but recommended if using high heat to prevent any accidental splashes or debris from injuring your eyes.
How to Make Shoe Goo Dry Faster (Step-by-Step Guide)
Let’s get into how you can speed up the drying time of Shoe Goo and have your footwear ready faster than usual. This is especially helpful when you’re in a pinch and need those shoes ready for wear in no time.
1. Prepare the Area and Materials
Before you start, make sure the area is well-ventilated. Lay down wax paper or foil to catch any drips or spills, ensuring a clean workspace. Gather your Shoe Goo, tools, and any items you’ll need to clamp or press the shoe together.
2. Apply Shoe Goo Carefully
Apply a thin, even layer of Shoe Goo to the surface needing repair. Avoid over-application, which can significantly increase drying time. The right amount ensures a quicker and stronger bond.
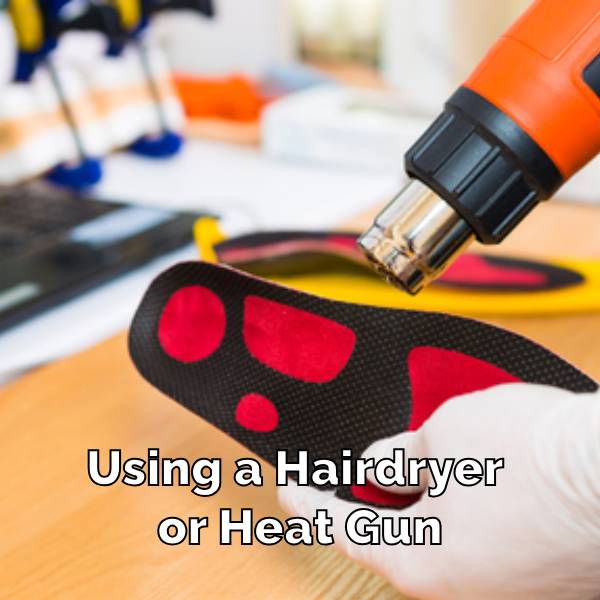
3. Use a Hair Dryer
A common method to speed up the drying process is using a hair dryer. Set it on a low or medium heat setting and hold it about 6-8 inches away from the shoe. Move it around to evenly distribute heat and prevent overheating any area, which could potentially damage the material of the shoe or cause the glue to bubble.
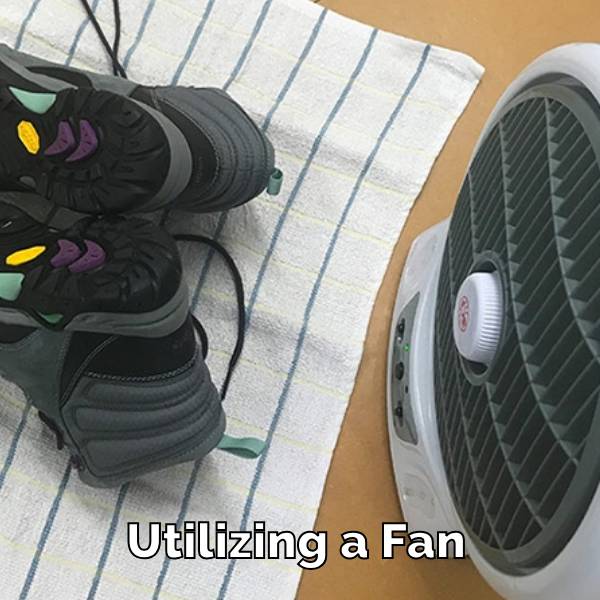
4. Set Up a Fan
If you prefer not to use heat, setting up a fan to blow directly onto the glued area can also help. The constant air flow helps evaporate the solvents in Shoe Goo more quickly, reducing drying time without the risk of heat damage.
5. Press and Clamp
While the Shoe Goo is drying, it’s helpful to press the glued parts together firmly. Use clamps or place a heavy object on top to ensure good contact between surfaces. This pressure helps strengthen the bond as the glue sets.
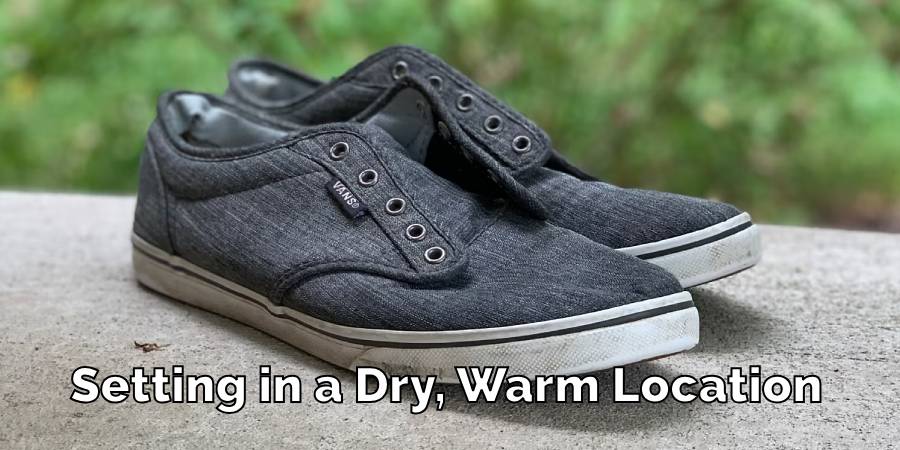
6. Check and Cure
After you’ve applied heat or air-flow for about 10-15 minutes, let the shoe sit undisturbed. Shoe Goo typically takes 24 hours to fully cure, but these steps can make it tack-free and hold together in less time. Always check the manufacturer’s instructions for the recommended full cure time to ensure maximum adhesion and durability.
7. Test Before You Wear

Before putting your shoes into full use, gently test the repair by slightly bending or twisting the glued area to make sure it holds. This can prevent any surprises when you actually start wearing them.
By following these steps, you can make Shoe Goo dry faster and ensure your shoe repair is durable and ready when you need it. Whether you’re repairing a detached sole or reinforcing worn areas, these tips will get your shoes back in action quickly and safely.
Final Words
If you’re in a rush to fix your shoes with Shoe Goo, using a hair dryer or fan can really speed things up. Just be careful, apply even heat, and give it enough time to set properly. You’ll be back on your feet with a solid repair in no time. Happy fixing!
You may also read – How to Fix Hole in Skate Shoe
How to Wash Slipper Socks
Slipper socks are a cozy blend of comfort and warmth, perfect for lounging at home….
How to Wash Smelly Socks
Dealing with smelly socks is a common household challenge, but it doesn’t have to be…
How Many Pairs of Socks Should I Own
Deciding on the number of socks to own can surprisingly stir up quite the debate….
How to Prevent Socks From Static
Static cling can be a minor annoyance or a constant frustration, especially when it comes…
How to Wash Waterproof Socks
Washing waterproof socks properly is essential to maintain their effectiveness and durability. Whether you’re an…
How to Sell Used socks
Looking to declutter and make some extra cash? Selling used socks is a unique way…