
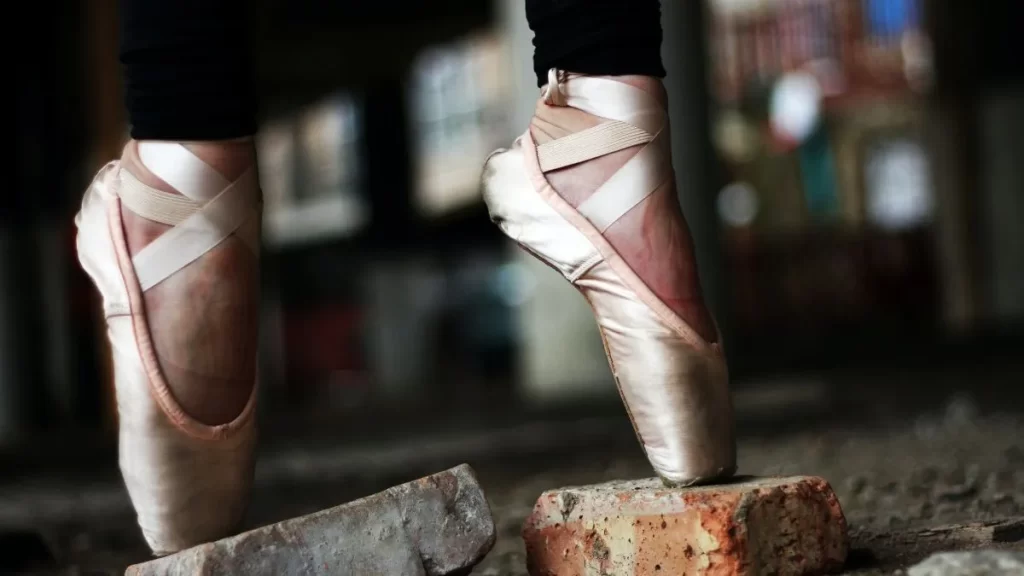
Today, I’ll guide you through the proper techniques for how to sew pointe shoe ribbons and elastics, empowering you to perform with confidence and stability, ensuring that your shoes are perfectly tuned to your needs.
Tools We Need to Sew Pointe Shoe Ribbons and Elastics
- Strong needle: A darning needle works best because it can handle the thick materials of the shoe without bending or breaking.
- Durable Thread: Buttonhole thread is often chosen for its strength and ability to hold things in place securely.
- Scissors: Needed for cutting ribbons, elastics, and thread.
- Pointe Shoe Ribbons: These are special ribbons designed to match the texture and look of the shoe.
- Elastic: It adds extra support around the ankle.
- Thimble: A handy tool to protect your fingers from the needle while sewing.
How to Sew Pointe Shoe Ribbons and Elastics
Preparation
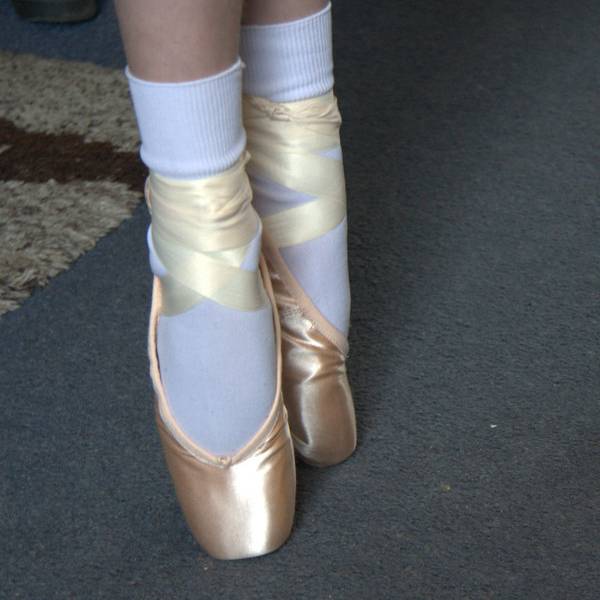
First, decide the placement for your ribbons and elastics. Ribbons are typically positioned about an inch away from the shoe’s back seam. For elastics, they should be placed in a way that they comfortably encompass your ankle and keep the shoe securely on your foot.
Working with Ribbons
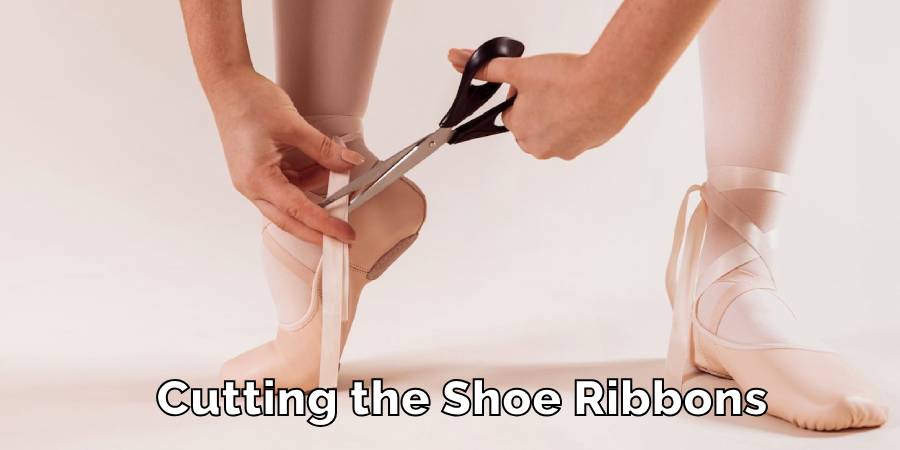
- Cutting: Each shoe needs two ribbons. Measure around your foot to determine the length needed and then cut the ribbons.
- Angling: Trim one end of each ribbon at an angle. This angled cut prevents the ribbons from fraying and makes sewing easier.
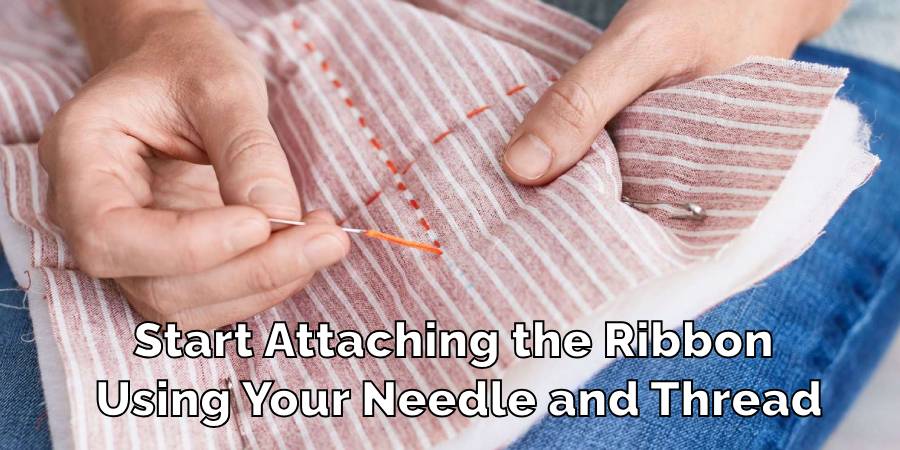
- Positioning: Place the angled end of the ribbon inside the shoe, pressing it flat against the shoe’s lining.
- Sewing: Stitch the ribbon onto the shoe’s lining, rather than the outer satin, to keep your stitches hidden and maintain a neat appearance.
- Finishing: Repeat the process for the other side of the shoe.
Adding Elastics
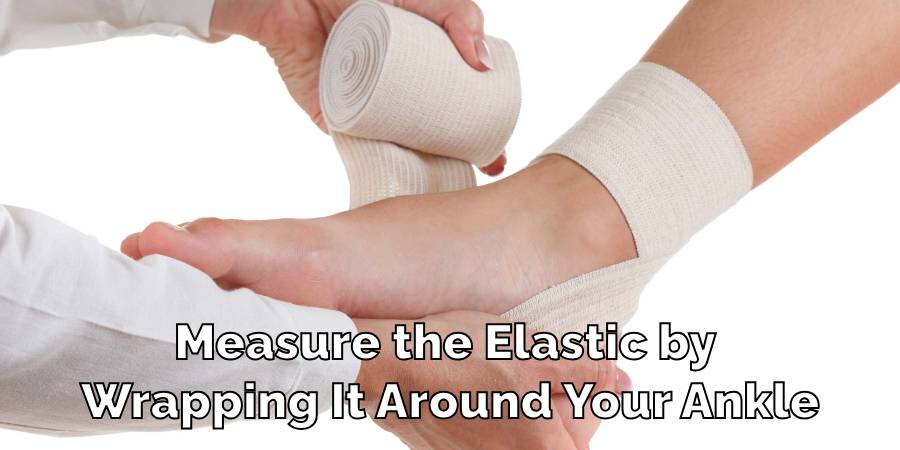
- Cutting: Measure the elastic around your ankle. It should be snug but not overly tight to avoid discomfort.
- Positioning: Position the elastic near the heel of the shoe for optimal support.
- Sewing: Start by sewing one end of the elastic securely, then stretch it slightly to ensure a comfortable fit before sewing the other end.
Quality Check
After finishing your sewing, inspect your stitches to make sure they are tight and uniform. This ensures that the ribbons and elastics will hold securely during performances. Try on the shoes and walk around to test for comfort and proper fit.
By focusing on these steps and sewing carefully, you’ll be able to equip your pointe shoes with ribbons and elastics that are not only functional but also aesthetically pleasing. This careful preparation helps ensure your shoes support your dance movements and keep you safe on stage.
Final Thoughts
Sewing ribbons and elastics on pointe shoes might seem tricky at first, especially if you’re new to it. But with a sturdy needle, strong thread, and a bit of patience, it’s quite manageable. Properly attaching these parts not only extends the life of the shoes but also ensures a snug and secure fit, which is crucial for dancers.
A well-attached ribbon and elastic mean you can focus on your performance without worrying about your shoes. Remember, a well-fitted shoe is key to a dancer’s confidence on stage. Take your time with the process and step onto the stage with assurance!
For more tips on shoes, check out – theshoetimes.com
How to Wash Slipper Socks
Slipper socks are a cozy blend of comfort and warmth, perfect for lounging at home….
How to Wash Smelly Socks
Dealing with smelly socks is a common household challenge, but it doesn’t have to be…
How Many Pairs of Socks Should I Own
Deciding on the number of socks to own can surprisingly stir up quite the debate….
How to Prevent Socks From Static
Static cling can be a minor annoyance or a constant frustration, especially when it comes…
How to Wash Waterproof Socks
Washing waterproof socks properly is essential to maintain their effectiveness and durability. Whether you’re an…

How to Sell Used socks
Looking to declutter and make some extra cash? Selling used socks is a unique way…