
Hey there! Ever found yourself staring at a pile of shoe boxes, wondering what to do with them? Well, you’re in luck because today, I’m going to show you a nifty little trick that will turn those boring old lids into something useful and beautiful! Yep, we’re going to talk about how to wrap a shoe box lid.
It might sound simple, but trust me, there’s an art to it. So grab your favorite wrapping paper and let’s dive in!
Tools We Need to Wrap Shoe Box Lid
- Shoe Box Lid: Well, that’s a given! Make sure you’ve got a clean and sturdy shoe box lid ready to be transformed.
- Wrapping Paper: Choose your favorite wrapping paper design to add a splash of personality to your lid.
- Scissors: A good pair of scissors will make cutting the wrapping paper a breeze.
- Double-Sided Tape or Glue Stick: You’ll need something to secure the wrapping paper in place without leaving a mess.
- Ruler (Optional): For those who like precision, a ruler can help you measure and cut the wrapping paper with accuracy.
- Decorative Elements (Optional): Get creative with ribbons, bows, stickers, or any other decorative elements to add flair to your wrapped lid.
How to Wrap a Shoe Box Lid
Prepare Your Materials
Gather all the necessary materials – your shoe box lid, wrapping paper, scissors, tape or glue, and any decorative elements you want to use.
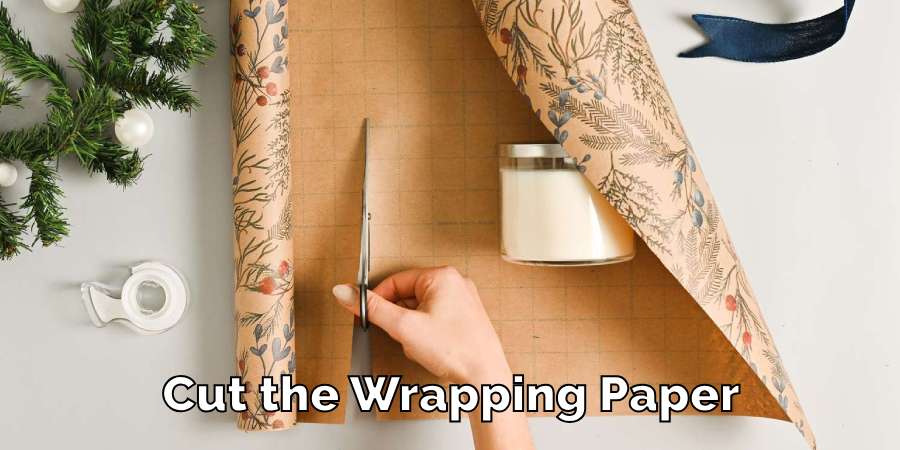
Measure and Cut
Lay your wrapping paper flat and place the shoe box lid upside down on it. Leave enough paper on each side to cover the lid completely. Use a ruler if you want precise measurements, then cut the paper accordingly.
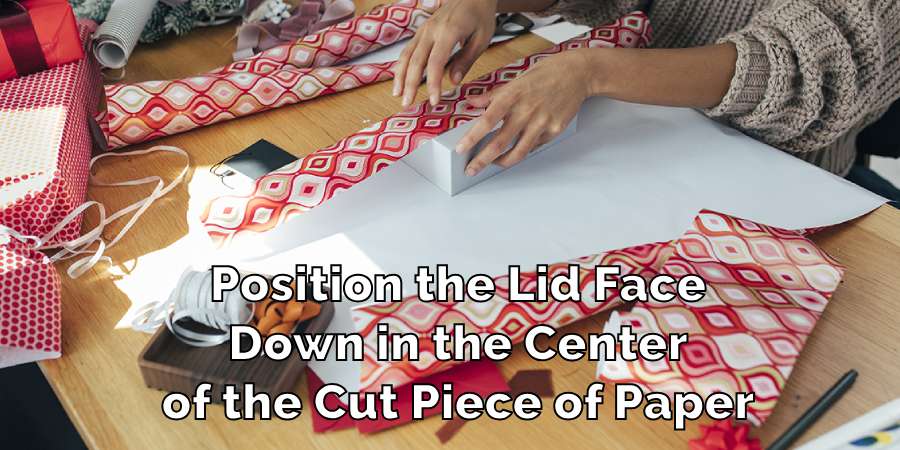
Wrap the Lid
Center the lid upside down on the wrapping paper. Fold one side of the paper over the lid and secure it in place with tape or glue. Repeat this step with the opposite side, making sure the paper is taut and smooth.
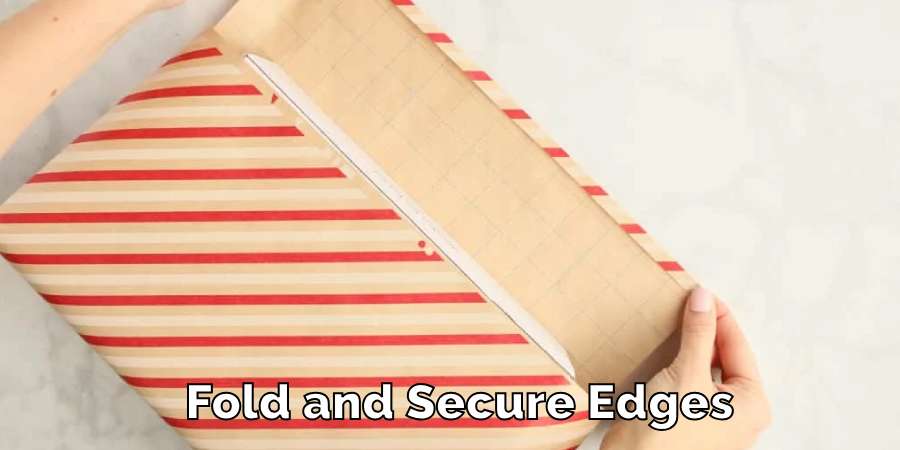
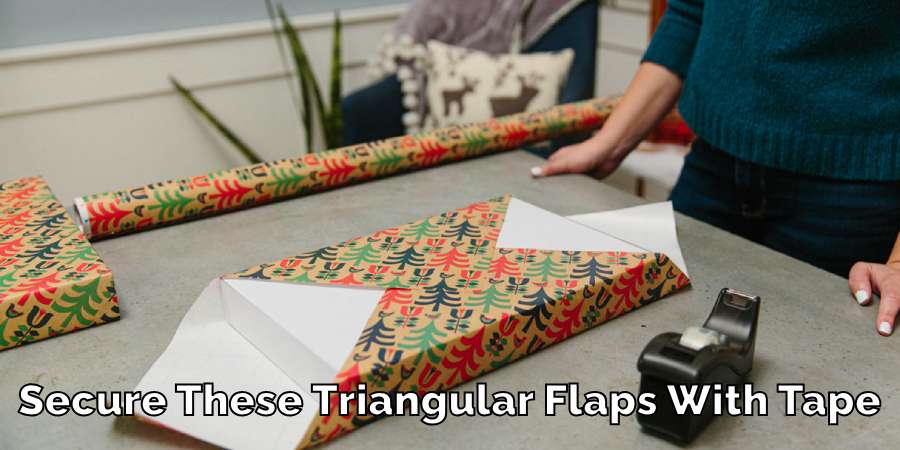
Fold and Secure the Ends
Fold the excess paper on the ends of the lid neatly, just like wrapping a present. Secure them in place with tape or glue, ensuring the corners are crisp and tidy.
Add Decorative Touches (Optional):
Get creative! Add ribbons, bows, stickers, or any other decorations to personalize your wrapped lid and make it stand out.
Finishing Touches
Once everything is in place and secure, give your wrapped lid a final once-over to smooth out any wrinkles or bumps
Final Words
Wrapping a shoe box lid is a simple yet rewarding DIY project that can add a touch of style and creativity to your storage solutions or gift-giving endeavors. With just a few basic materials and some easy-to-follow steps, you can turn an ordinary lid into something extraordinary.
So, the next time you find yourself with a spare shoe box lid, don’t toss it aside – give it a makeover instead! Whether you’re organizing your closet or presenting a gift, a wrapped shoe box lid is sure to impress. Happy wrapping!
How to Wash Slipper Socks
Slipper socks are a cozy blend of comfort and warmth, perfect for lounging at home….
How to Wash Smelly Socks
Dealing with smelly socks is a common household challenge, but it doesn’t have to be…
How Many Pairs of Socks Should I Own
Deciding on the number of socks to own can surprisingly stir up quite the debate….
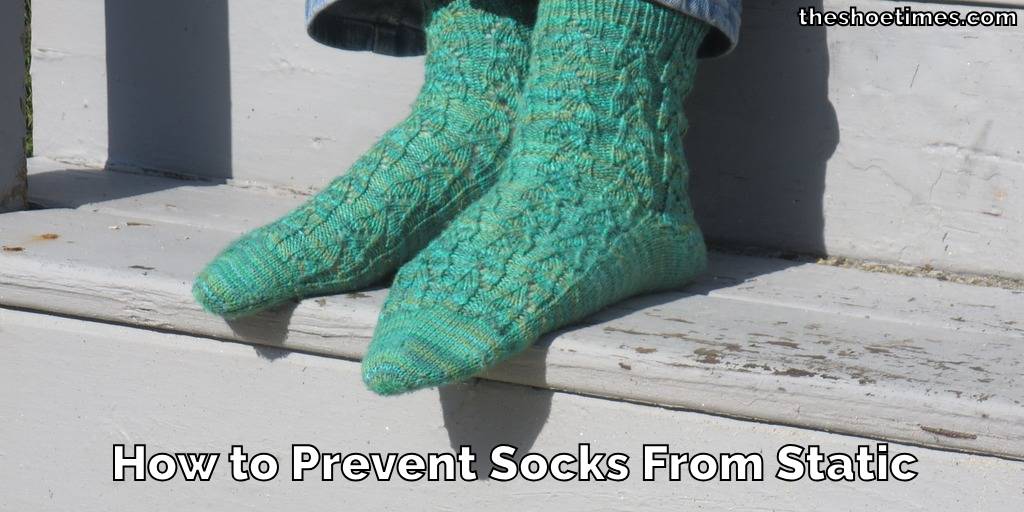
How to Prevent Socks From Static
Static cling can be a minor annoyance or a constant frustration, especially when it comes…
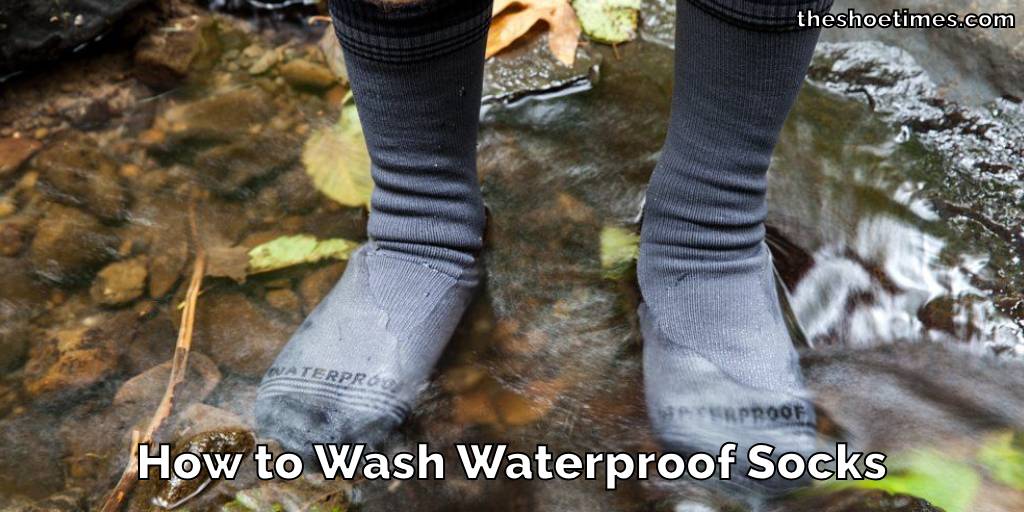
How to Wash Waterproof Socks
Washing waterproof socks properly is essential to maintain their effectiveness and durability. Whether you’re an…
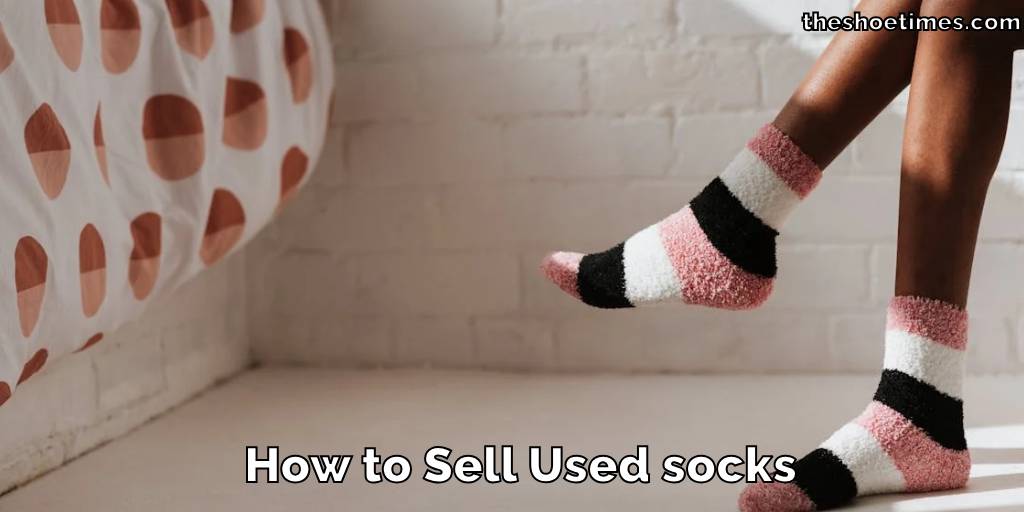
How to Sell Used socks
Looking to declutter and make some extra cash? Selling used socks is a unique way…